Instead of spending $500+ on a split ergo keyboard, I found this Silakka 54 keyboard on Aliexpress that was just the PCB assembled. I bought some silent switches and 3D printed the keycaps, all for about $50. I also printed the tenting wedges, which someone had already modeled. I am super happy with this keyboard, which is ultra customizable.
I did not initially intend to 3D print the keycaps, but as I started using the keyboard I noticed the special characters on the number row were too small to read. As I searched the web for caps with larger text I could not find any that seemed like they would work, then I realized I could just print them! I found blank keycaps on Makerworld, then added the letters, special characters and even text on the front of the keys. Printing them face down ensured a smooth print.
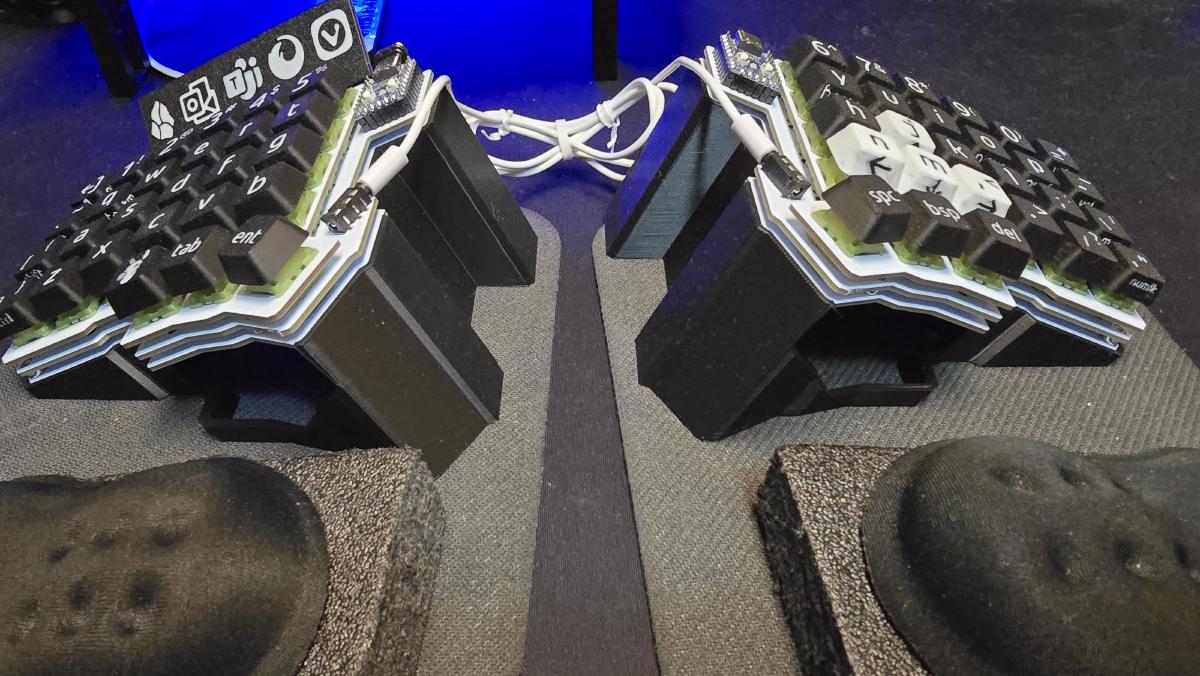
I also printed a cheatsheet that sits just above the number row on the left side. In Windows, if you press Win + a number key, it will switch to the application in that position in the taskbar. I always have these 5 apps pinned to those positions, but I would always forget which was which, so I printed this guide to help.
I set up the right side to have the arrow keys in the second layer, so I printed those four keys in white with black text to make them easier to find. Silakka 54