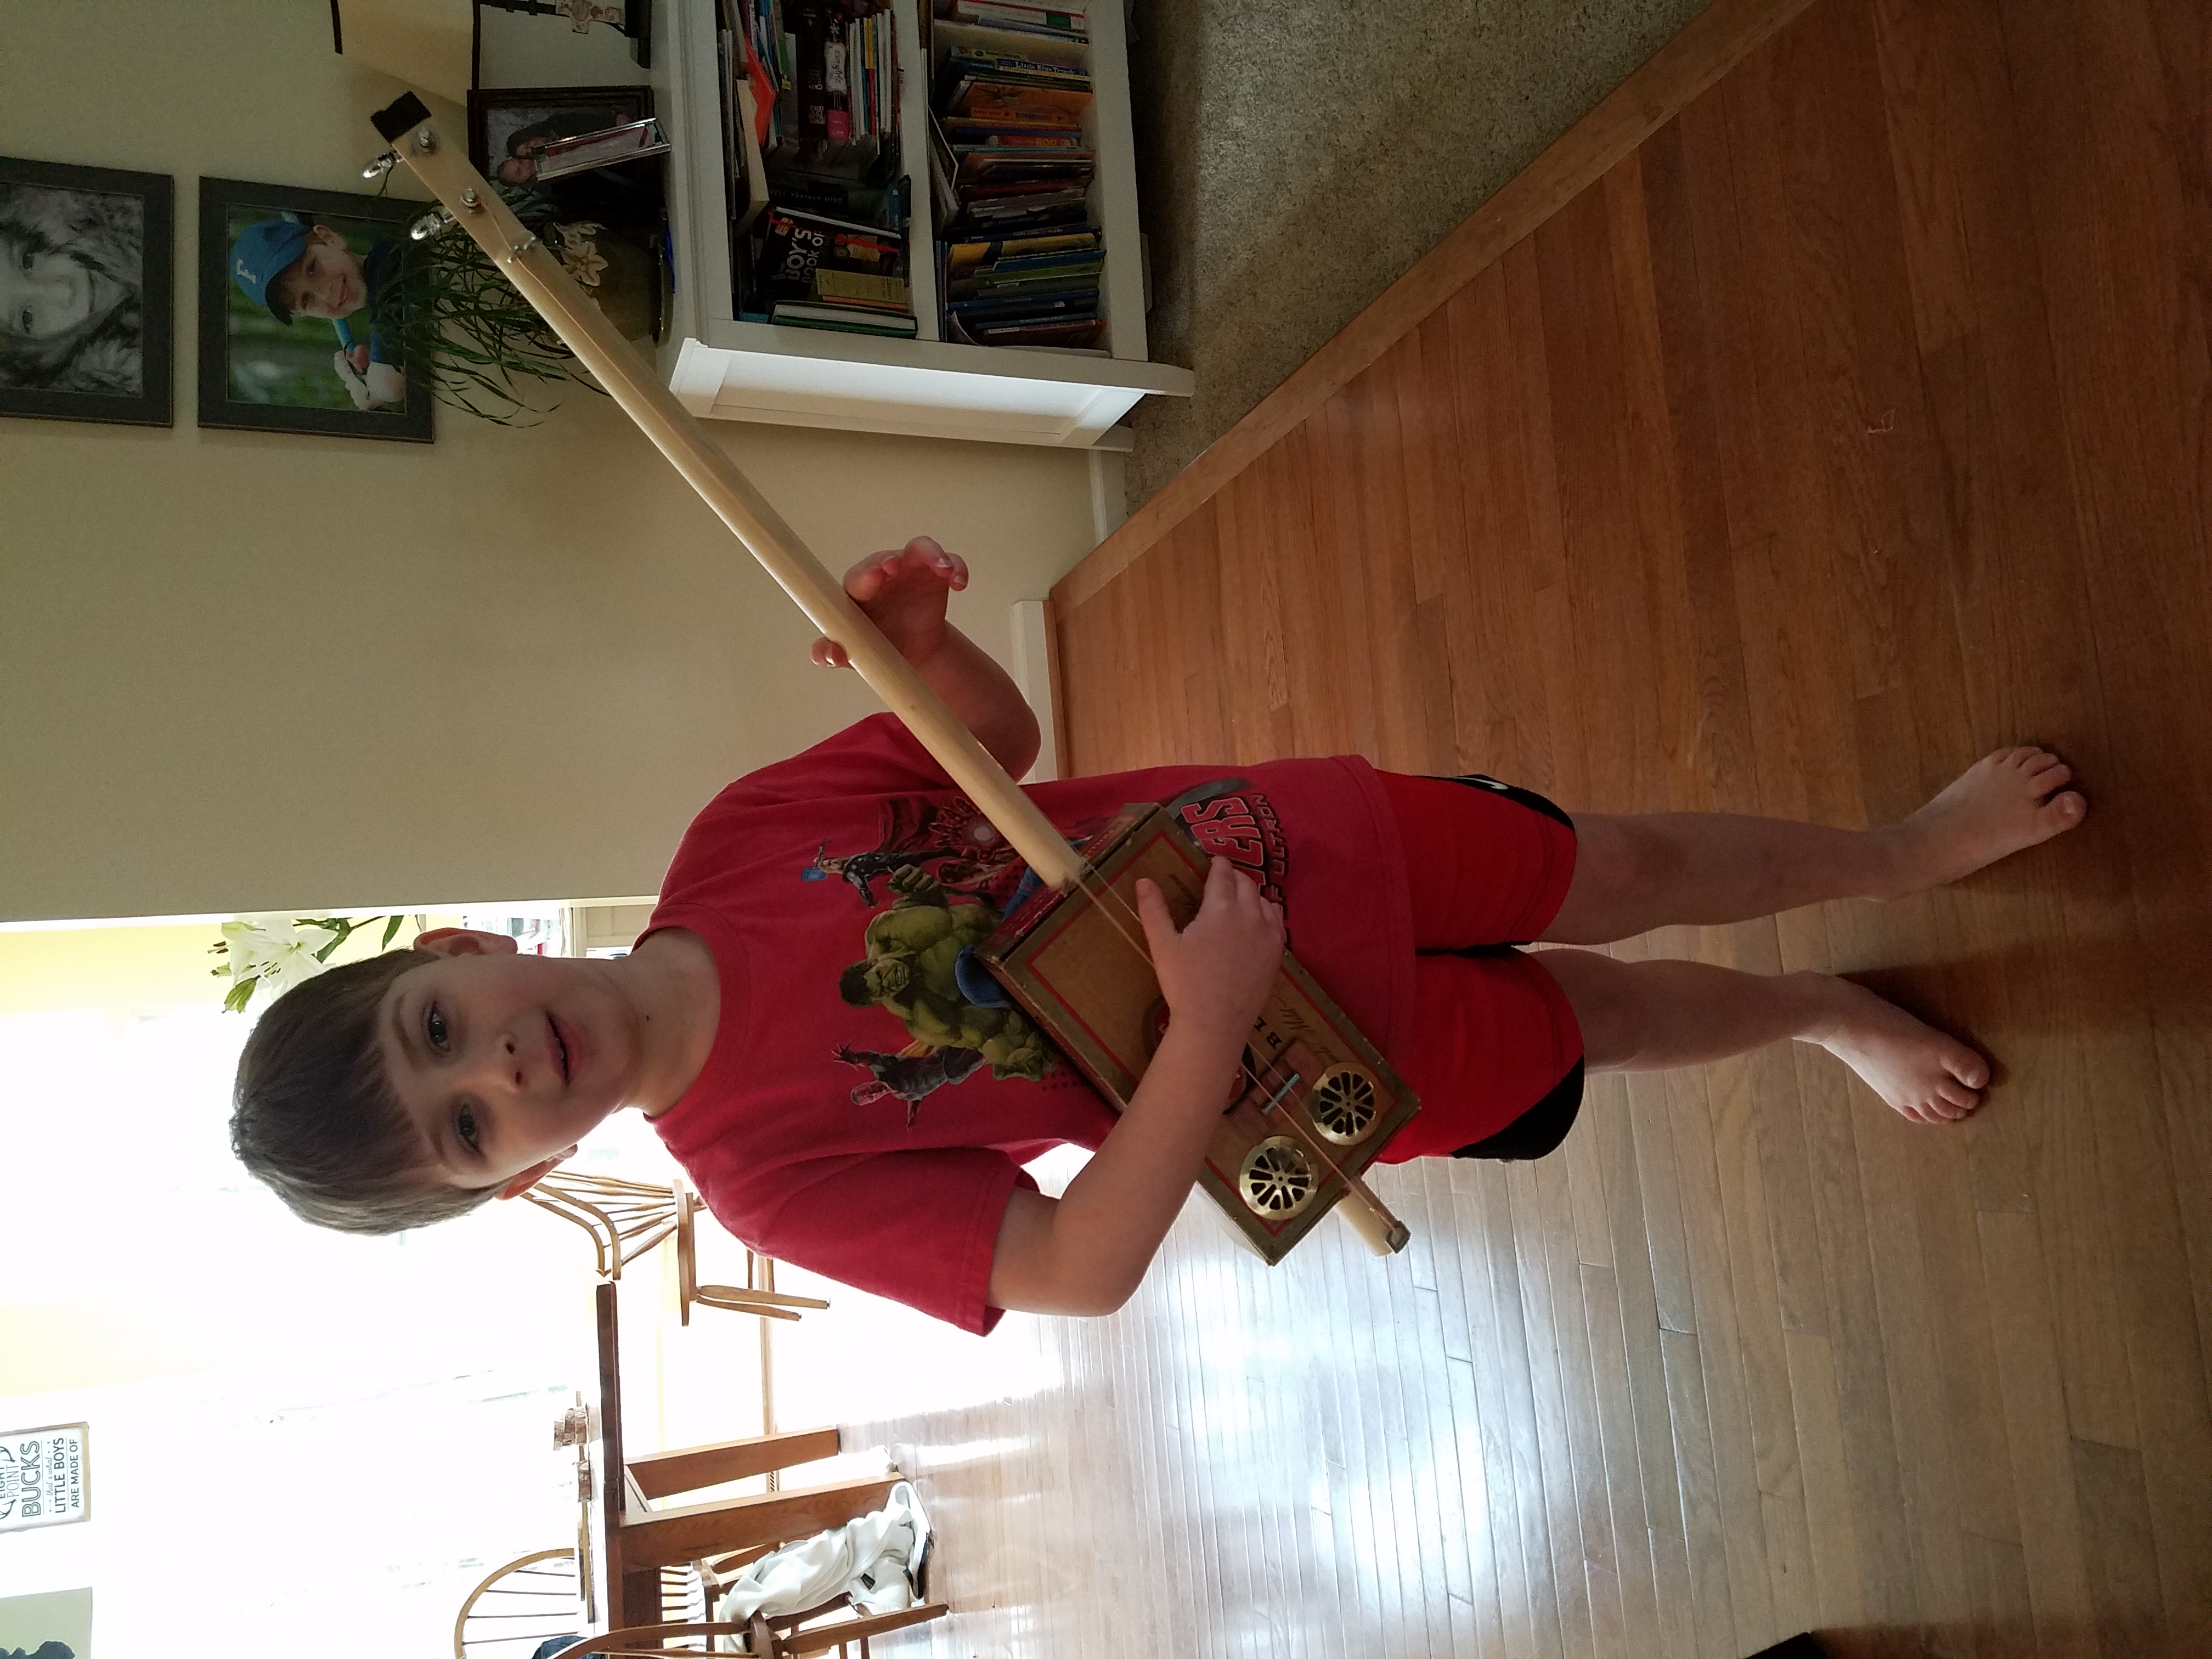
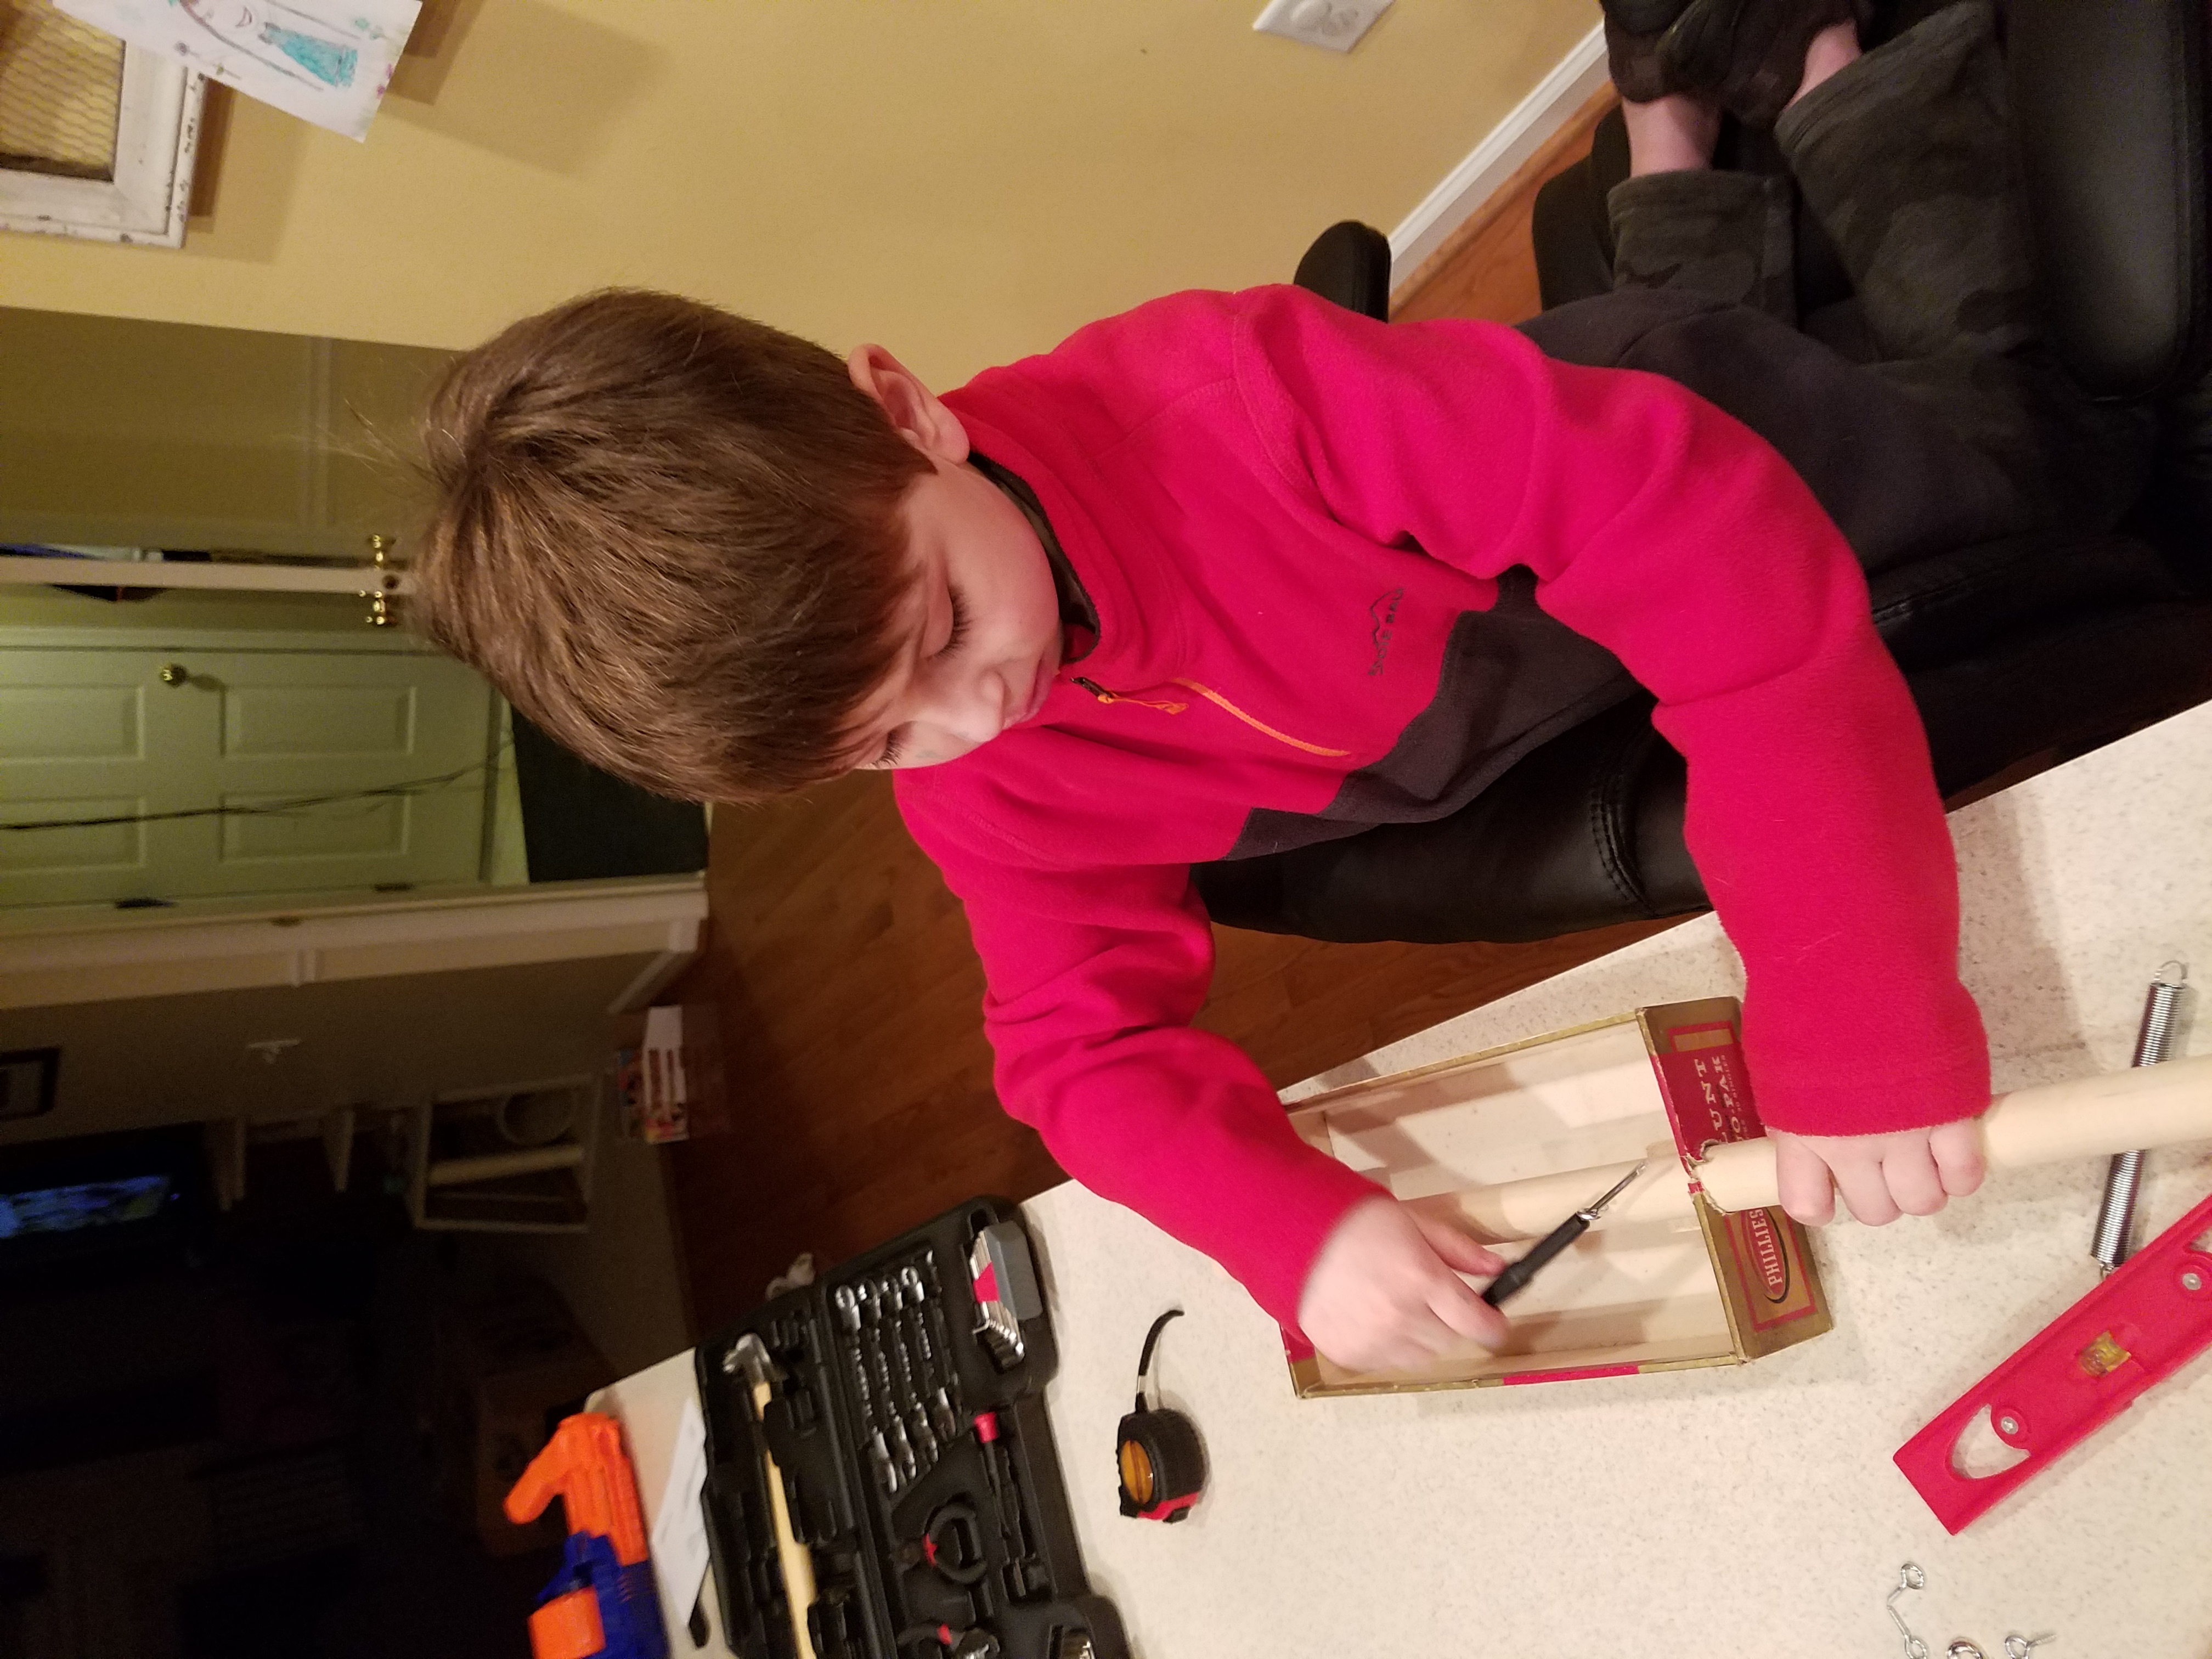
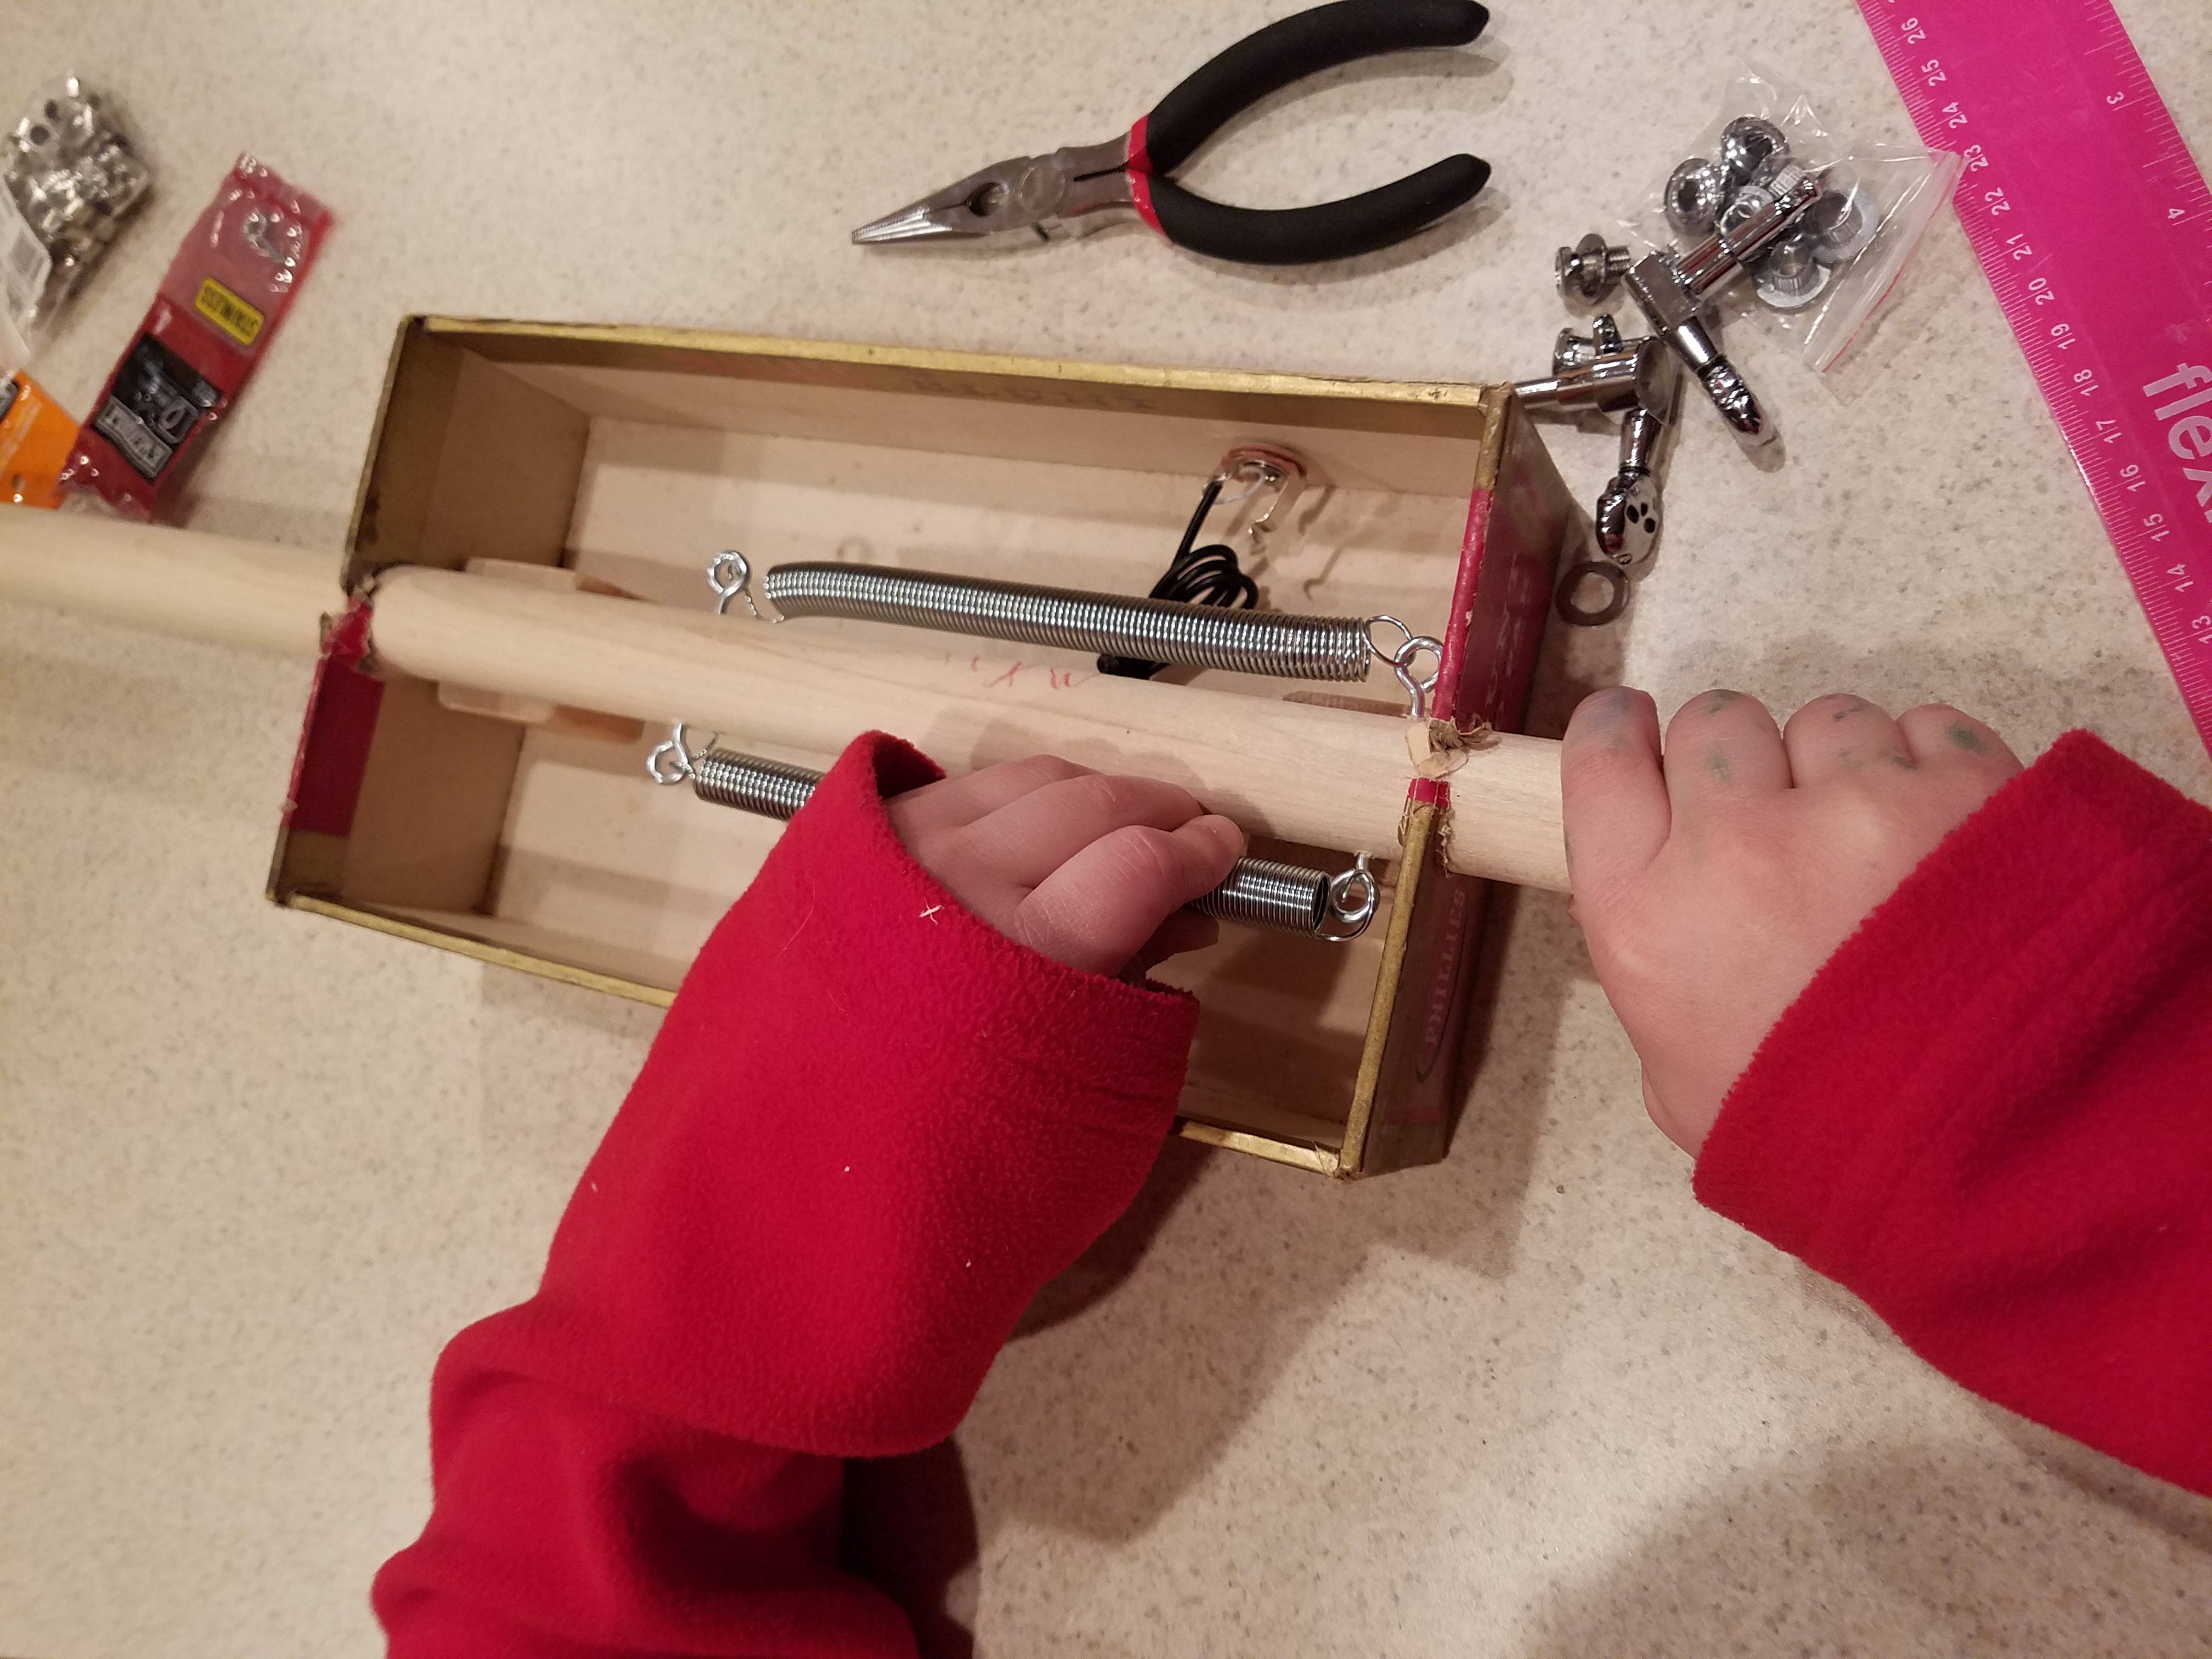
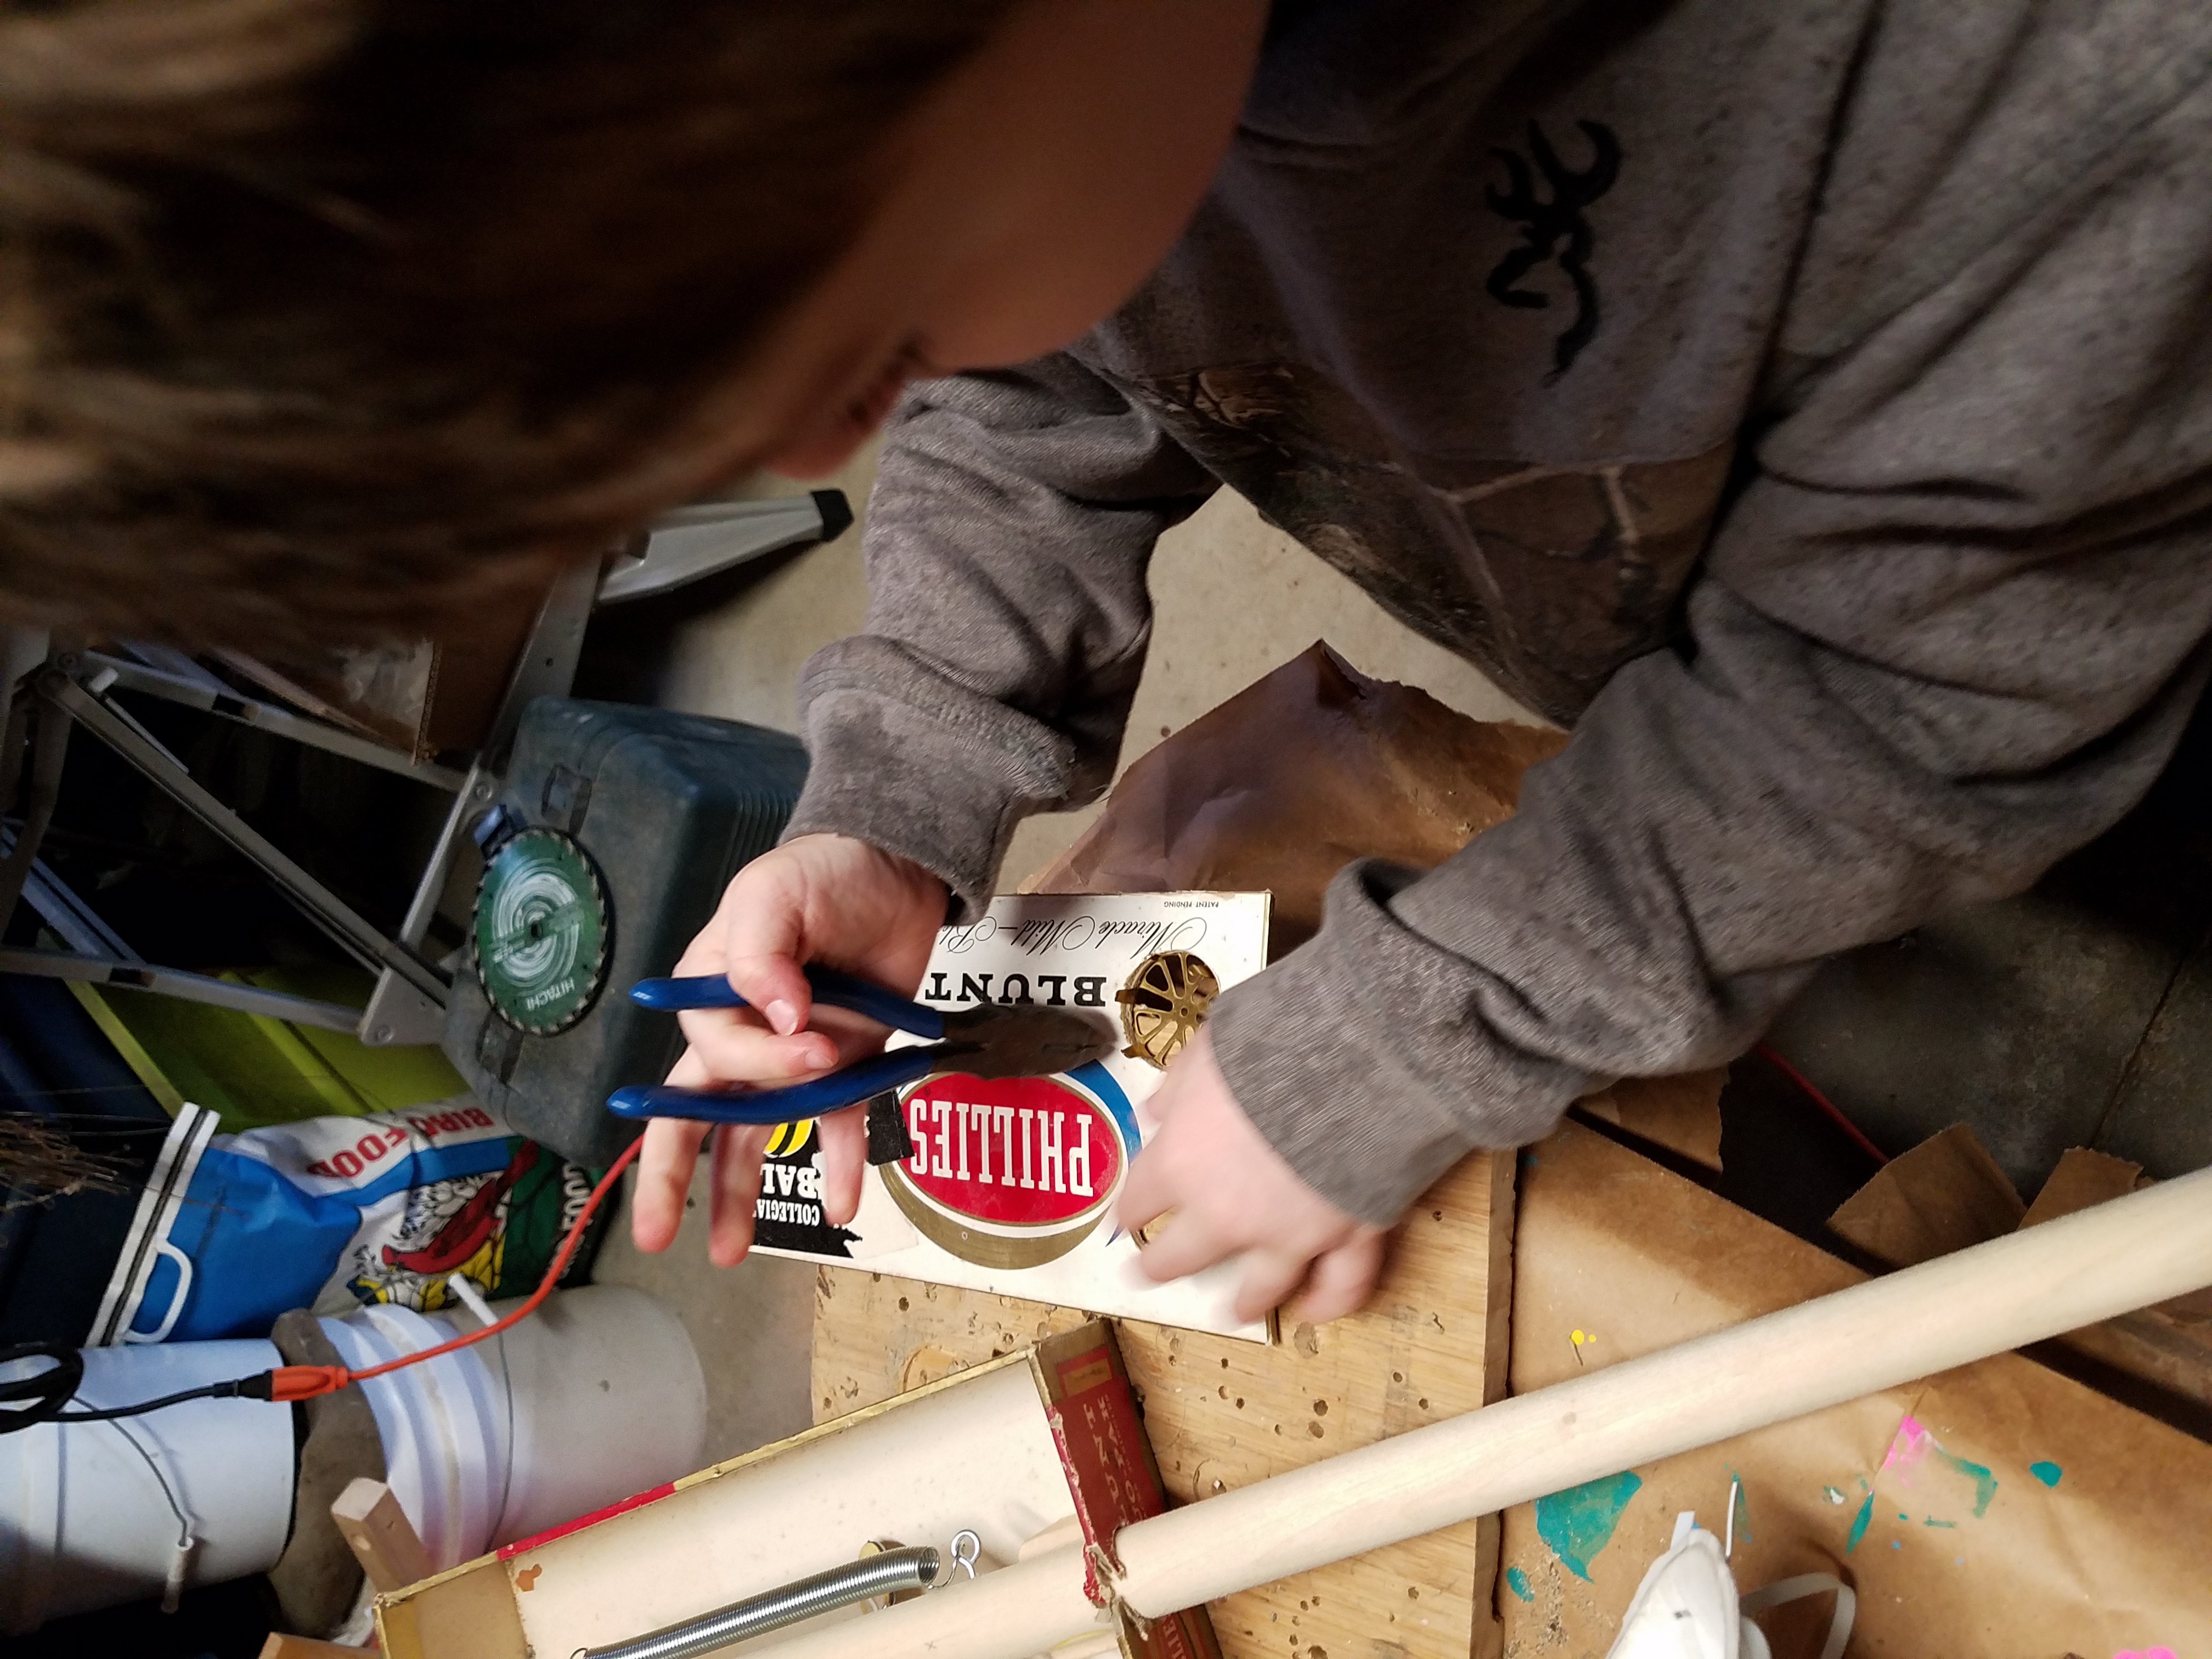
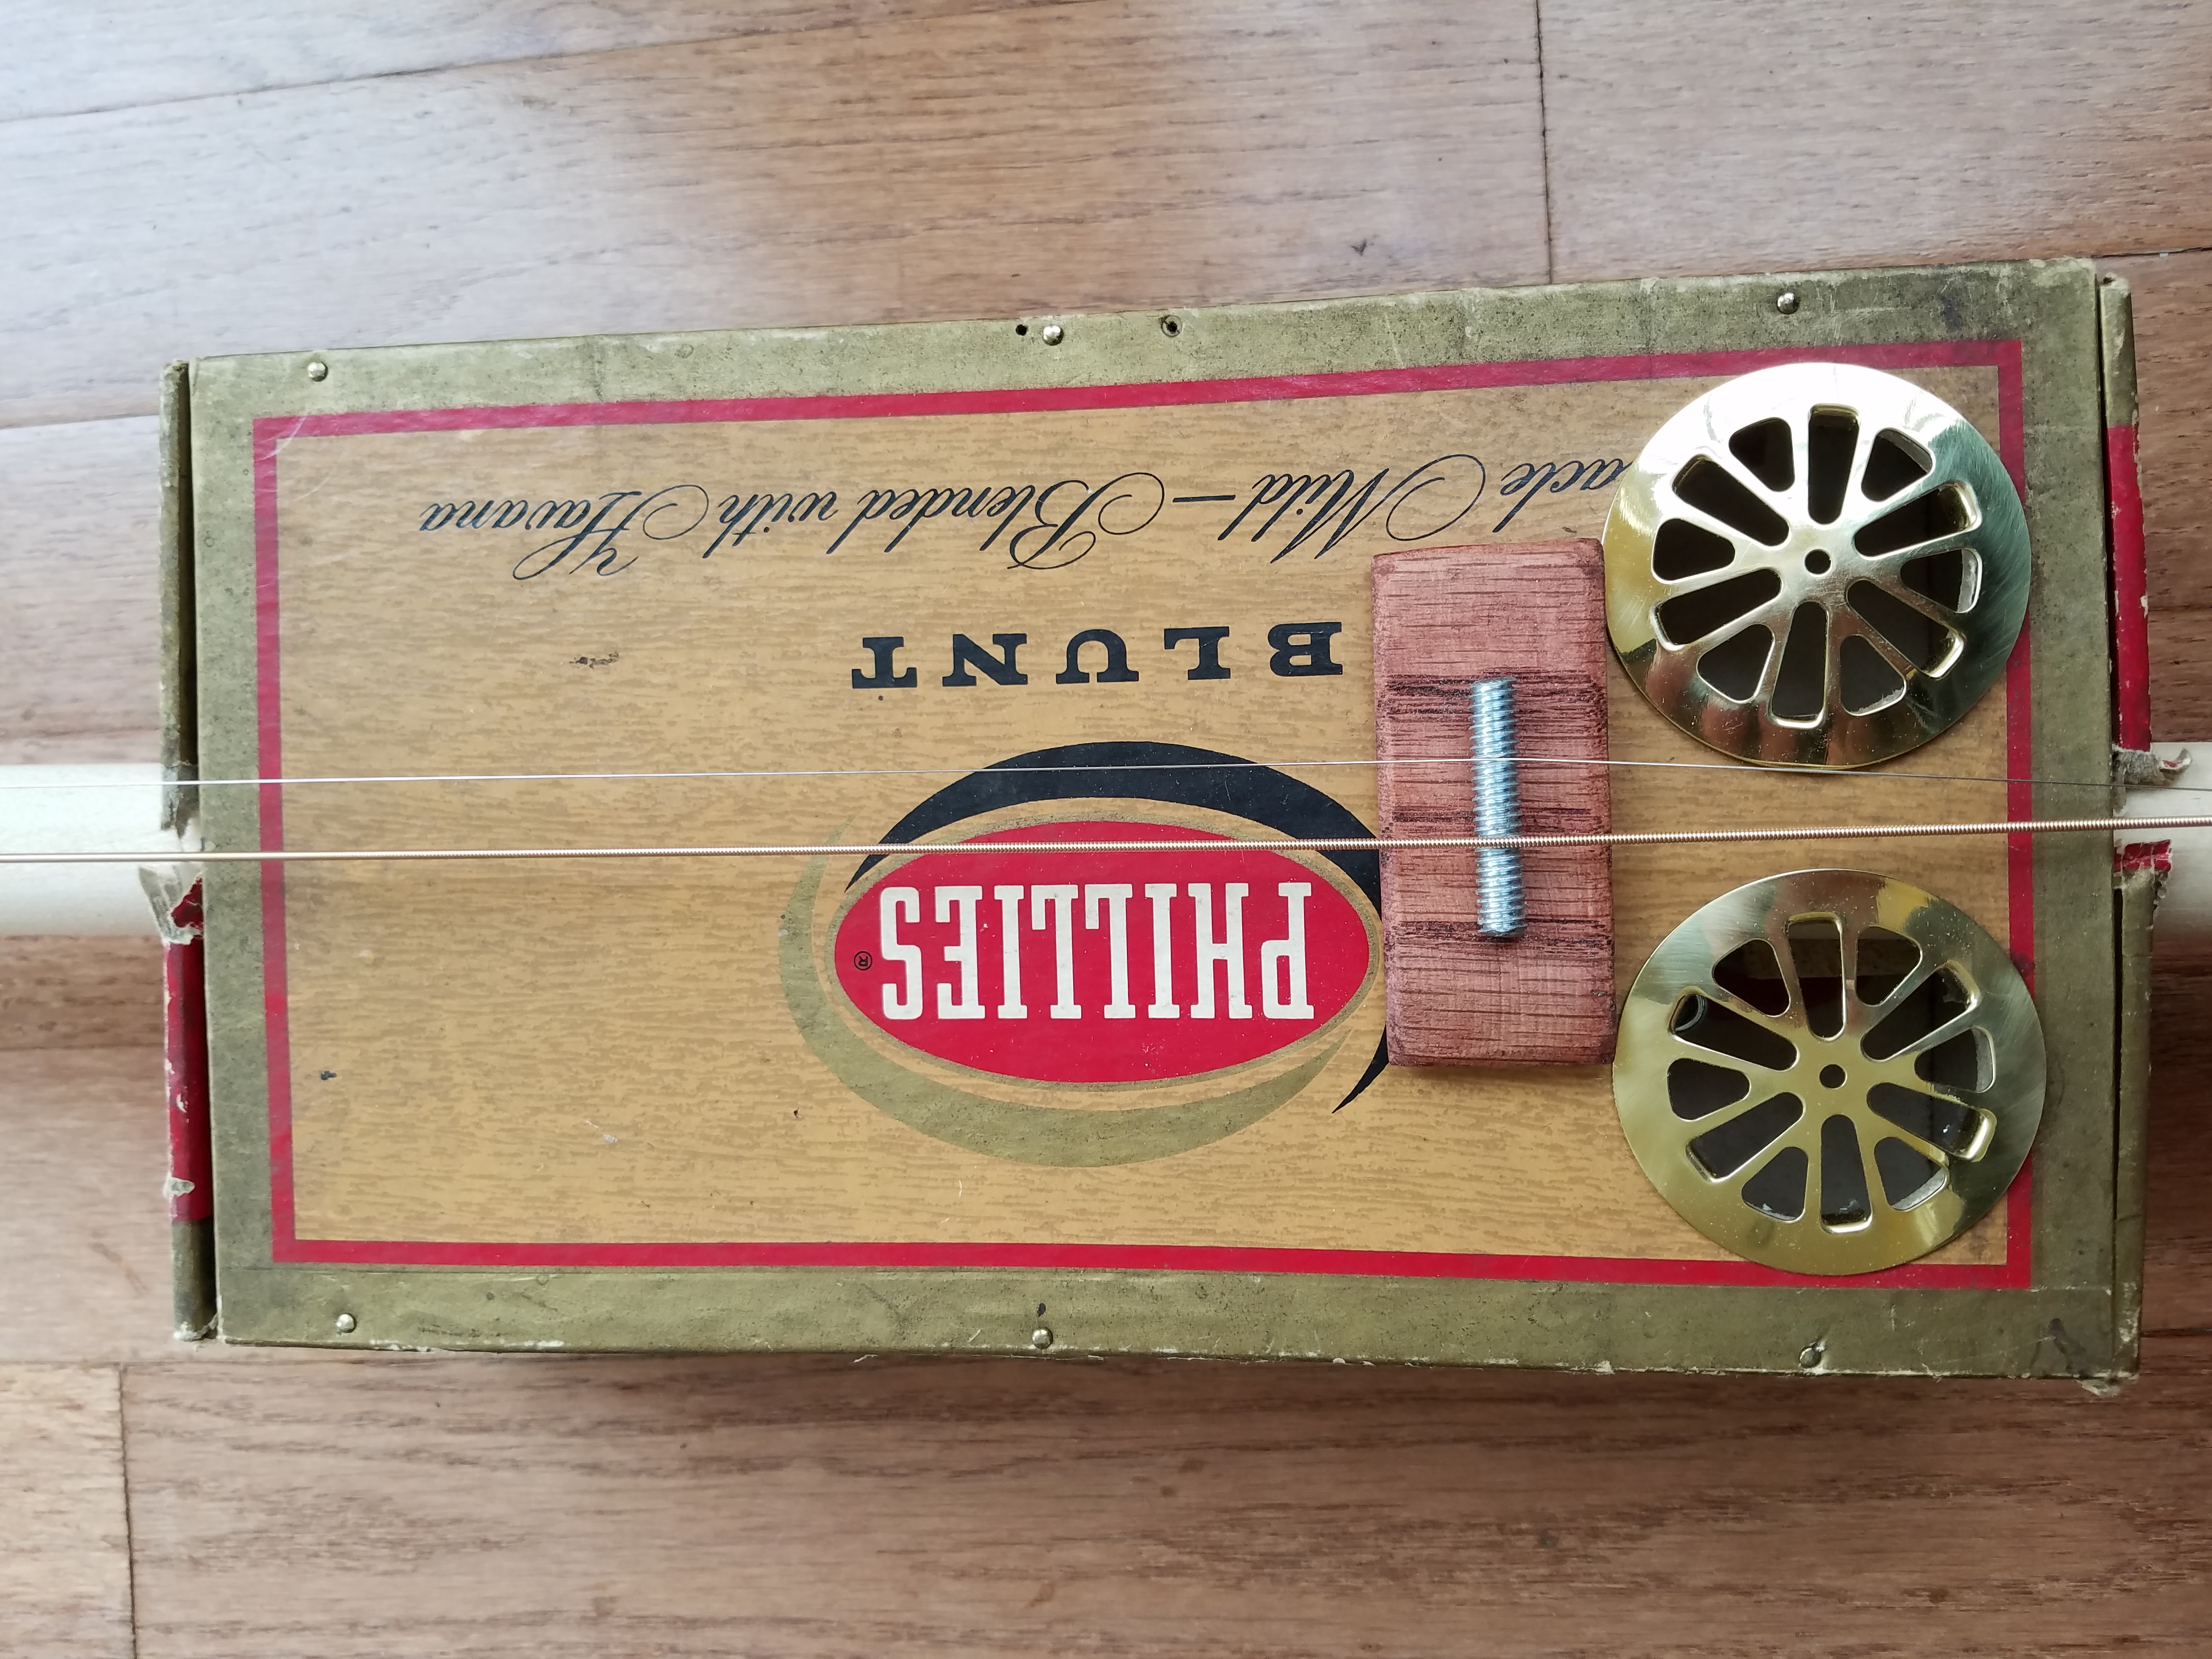
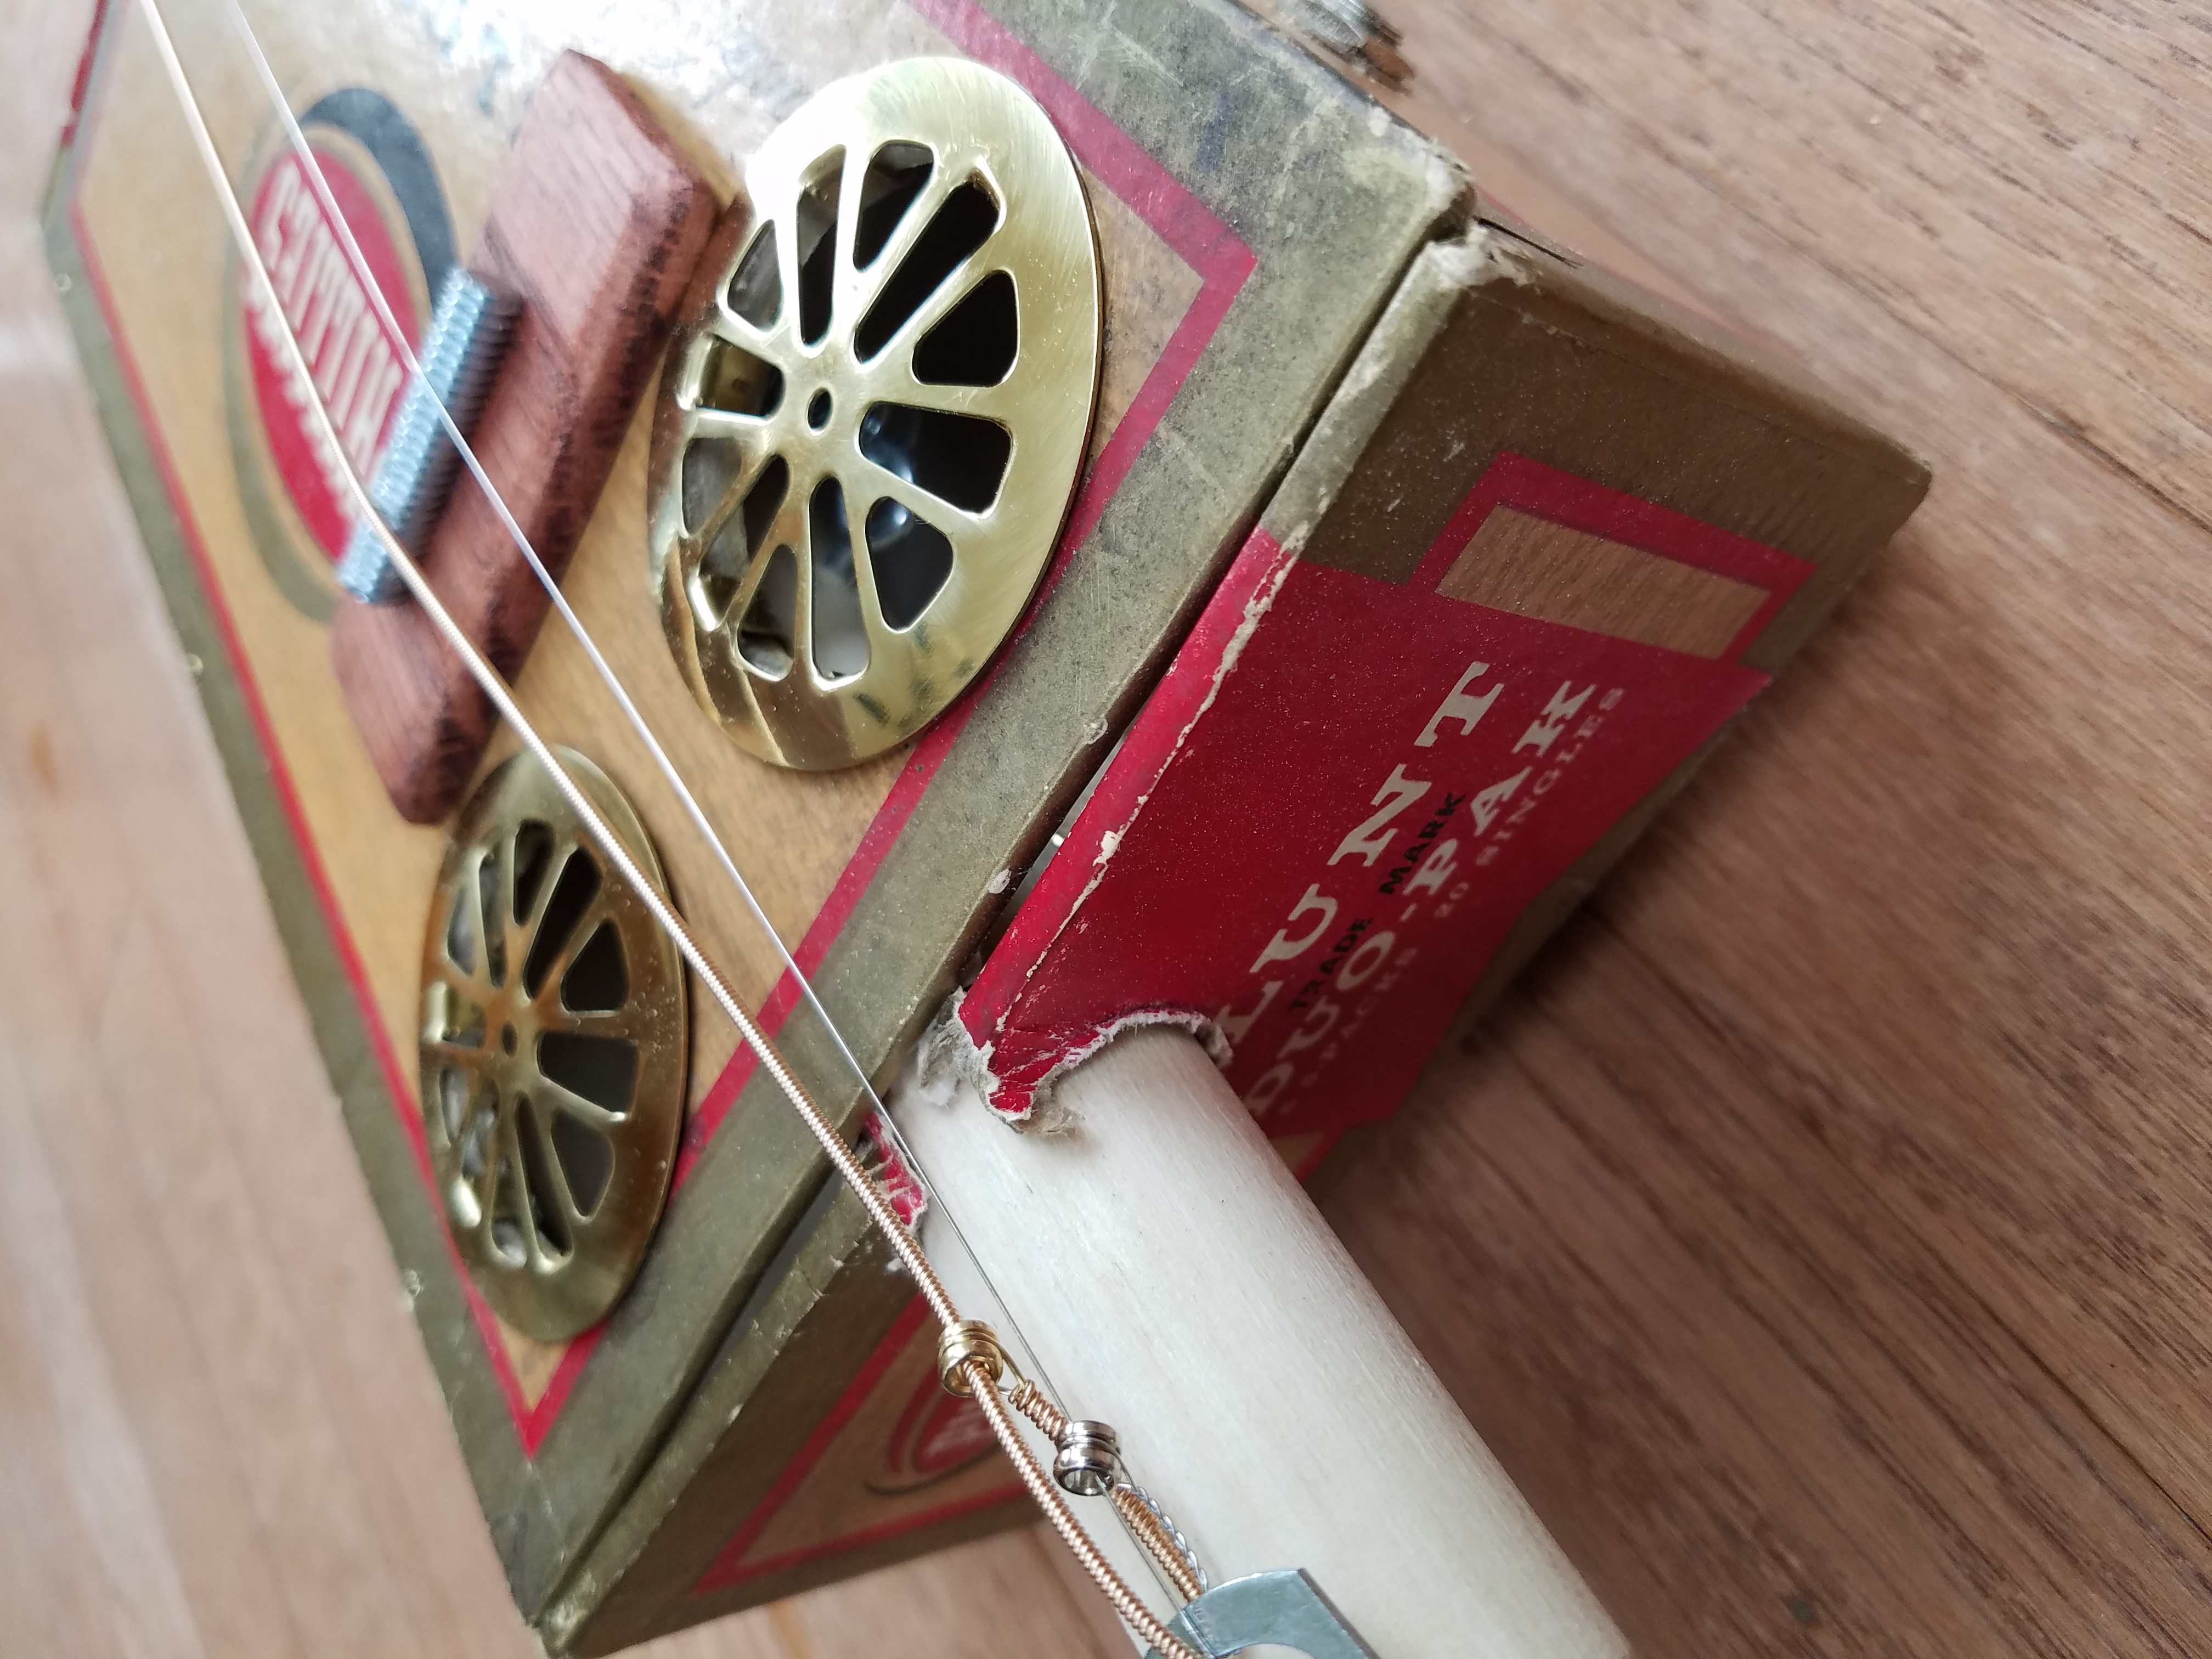
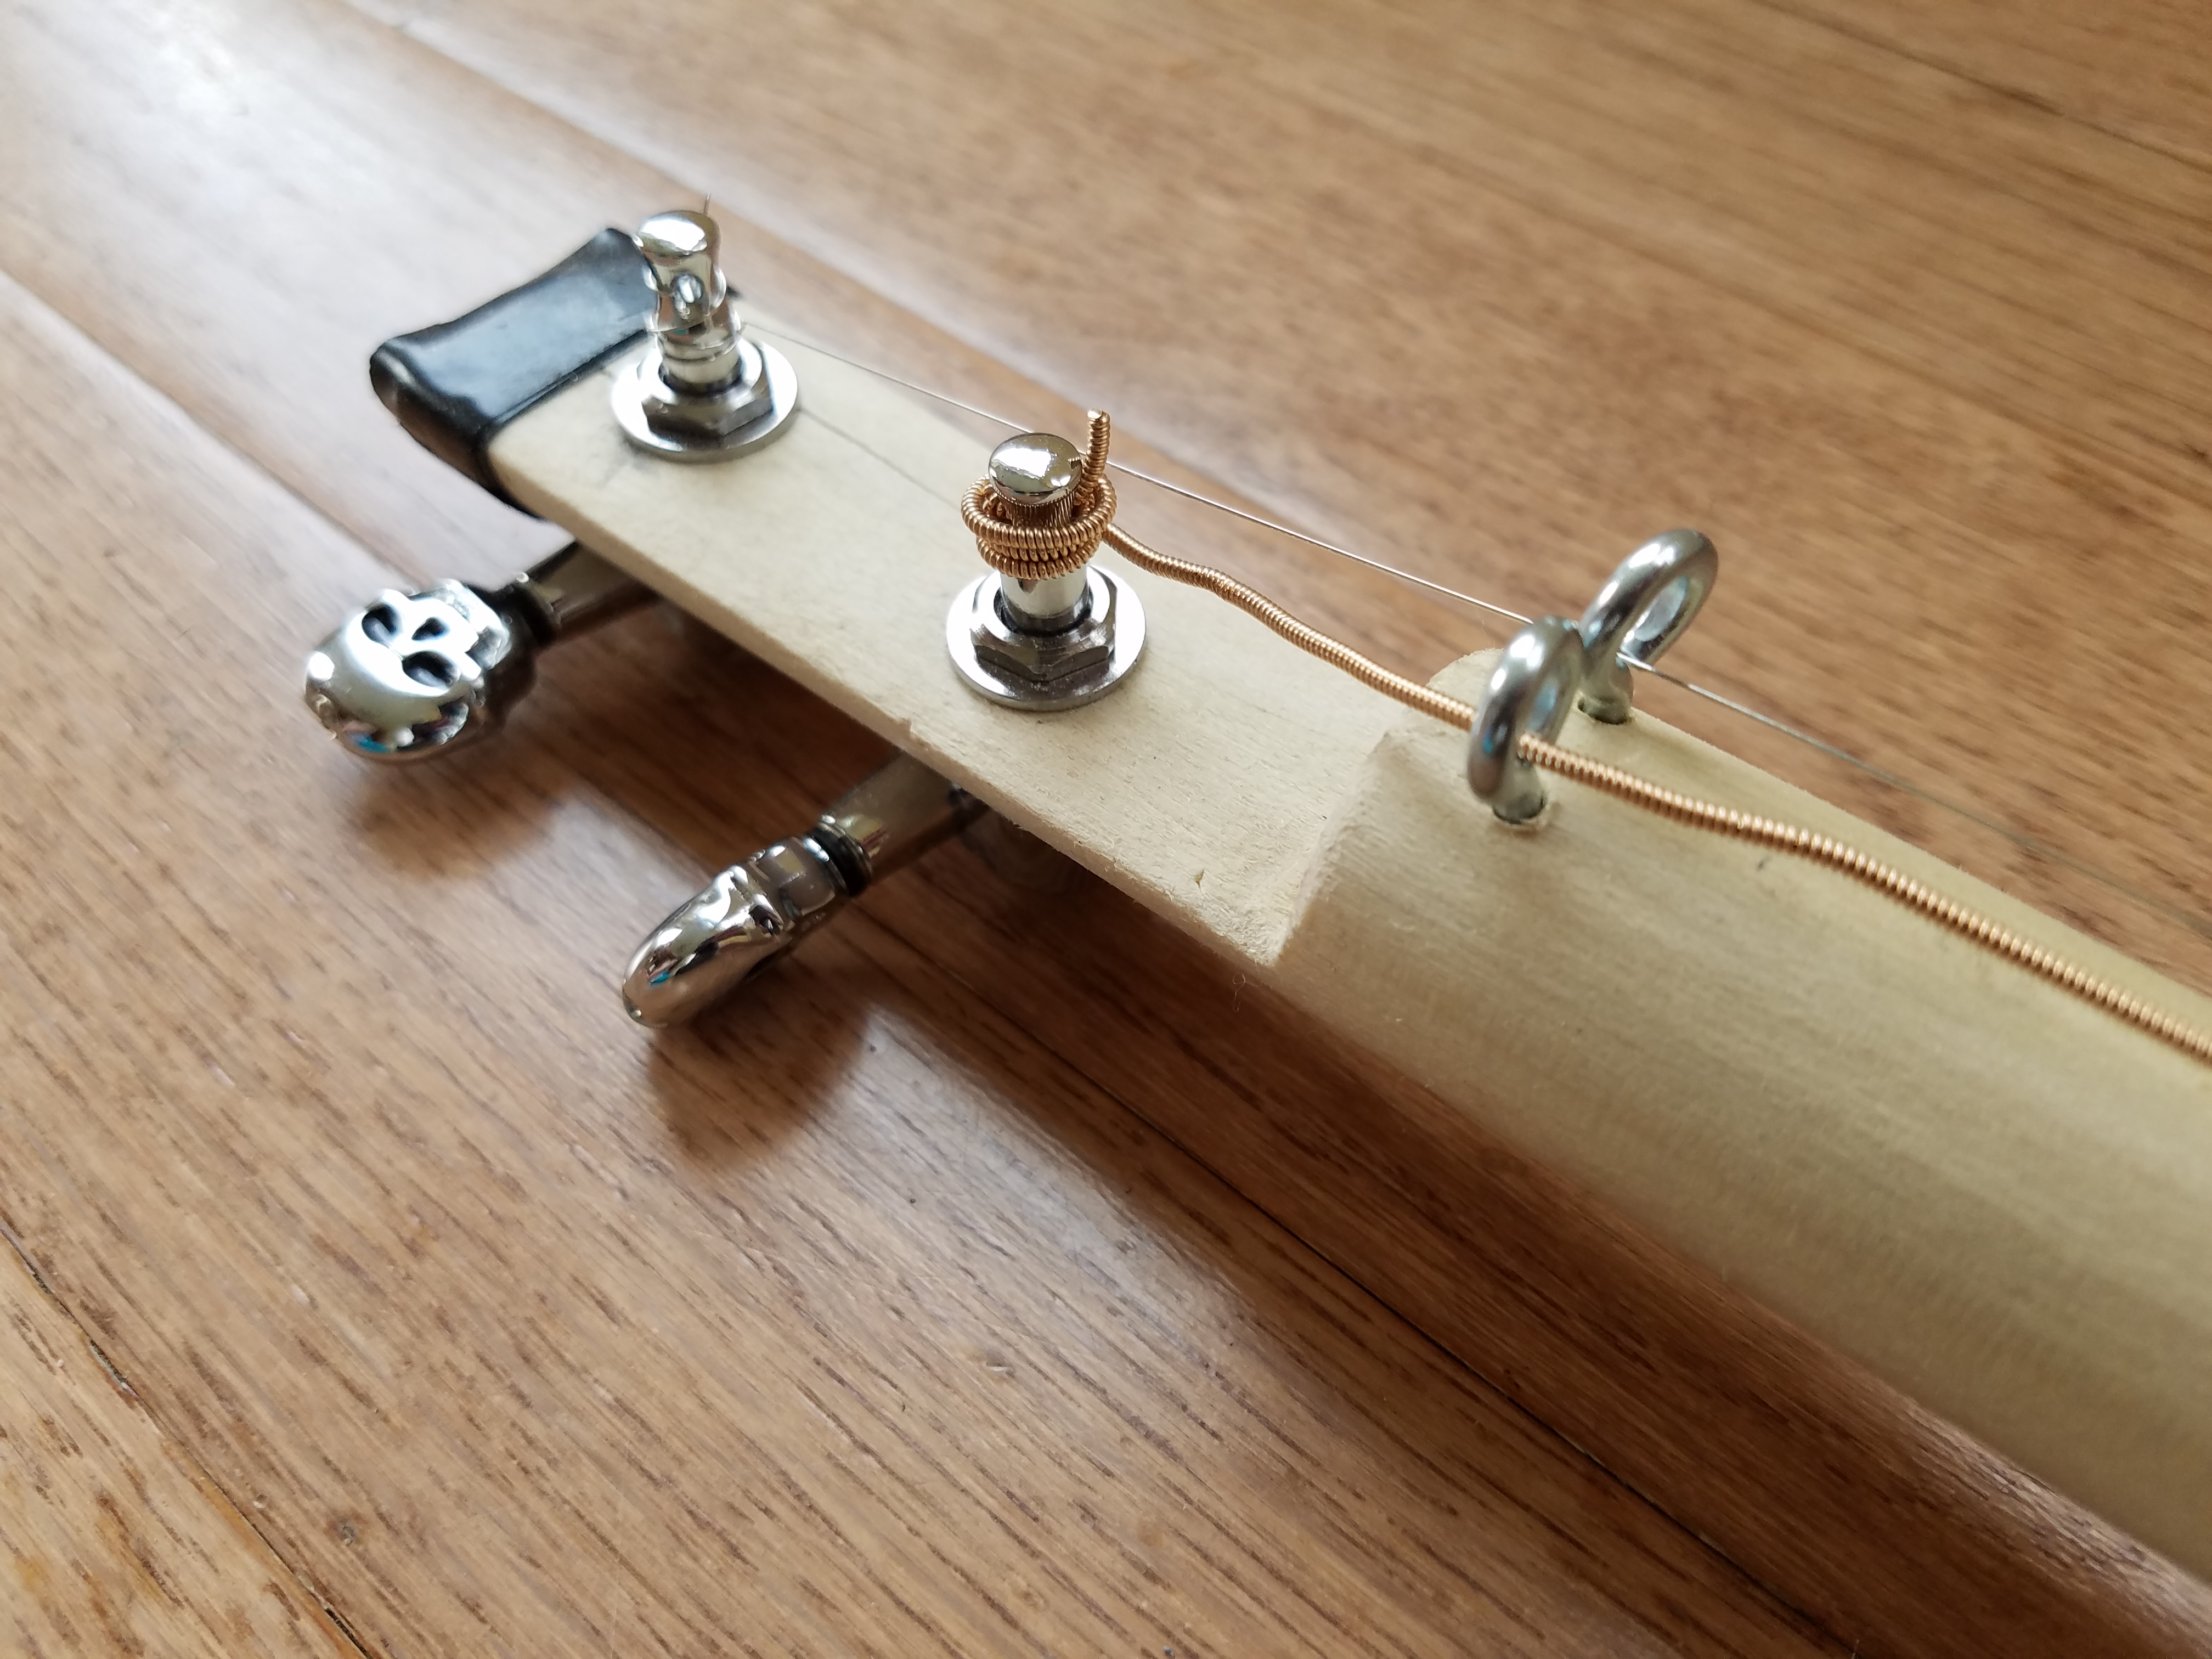
My son tried his hand at making a chugger…basically a two string guitar. I helped him along, but he did most of the work himself. We added springs on the inside to add a bit of reverb. He was very excited with the results, and I was super proud!
I highly recommend trying this project with your kids. It teaches them about handling tools, and the result is something they made and can be proud of. All you need is a box, a wooden dowel, and a couple of other random parts. A word of caution…this project takes more than a day to complete, so be prepared to encourage your child to complete it once they lose the initial interest.
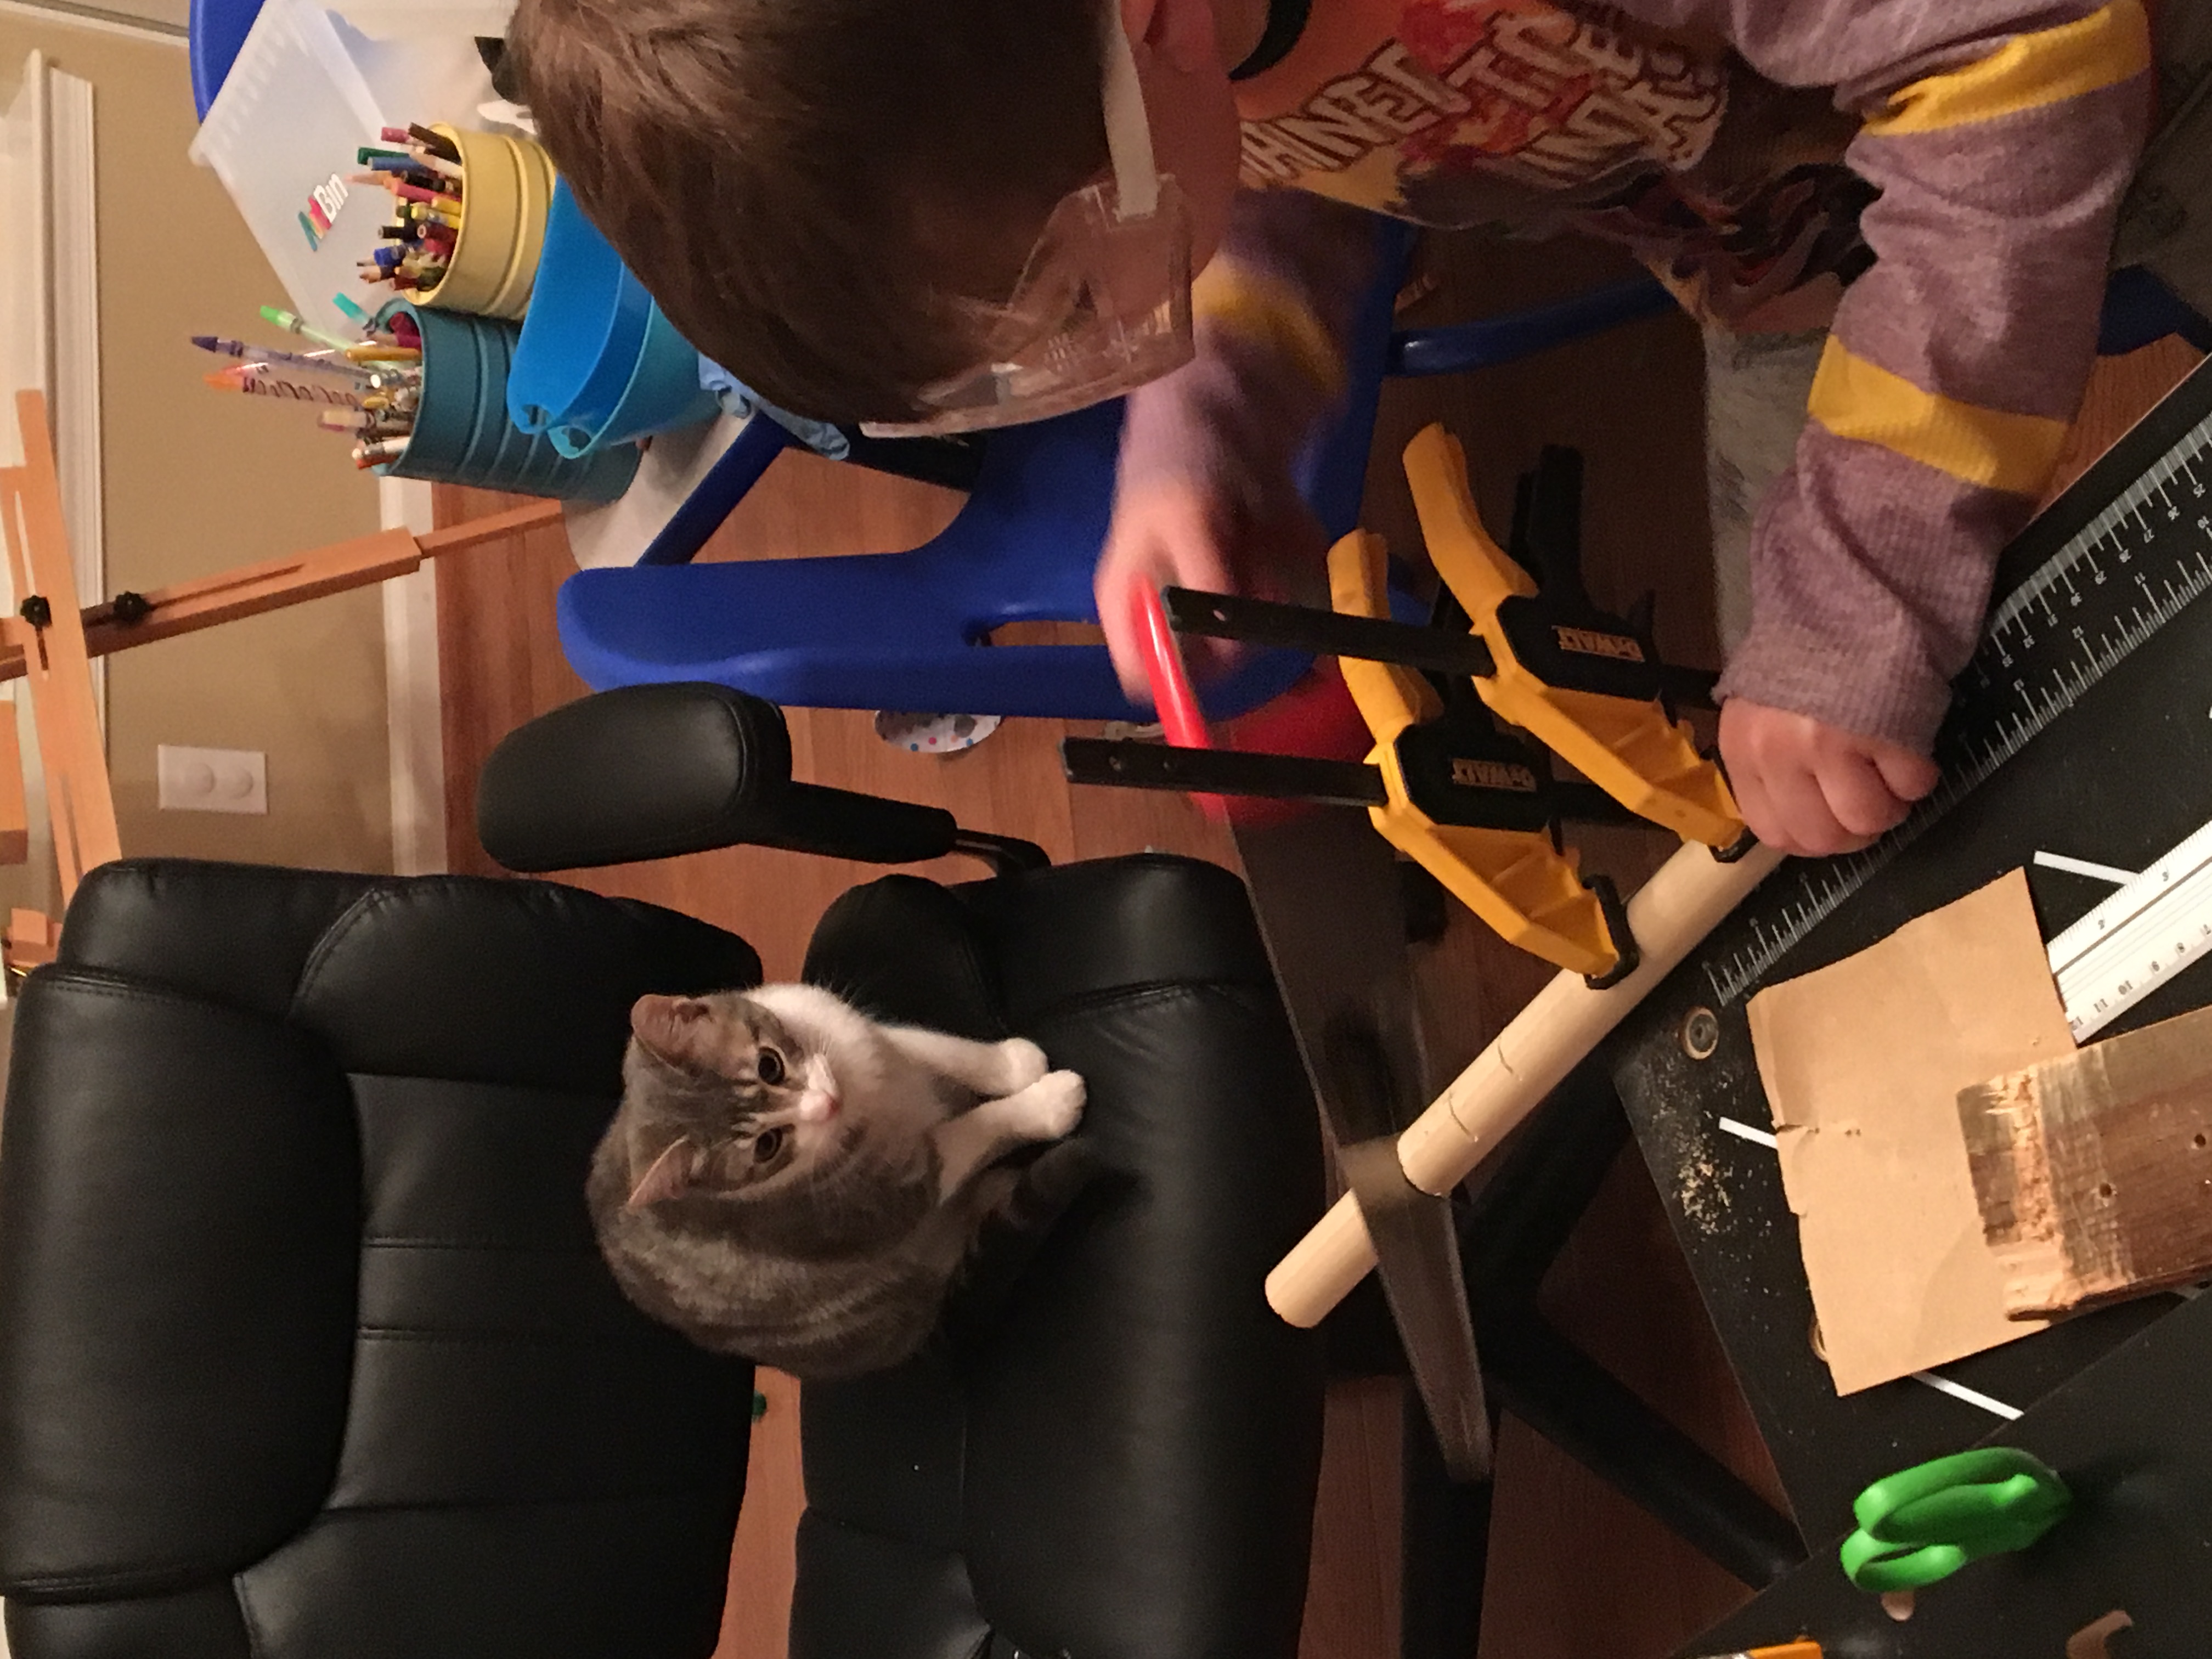
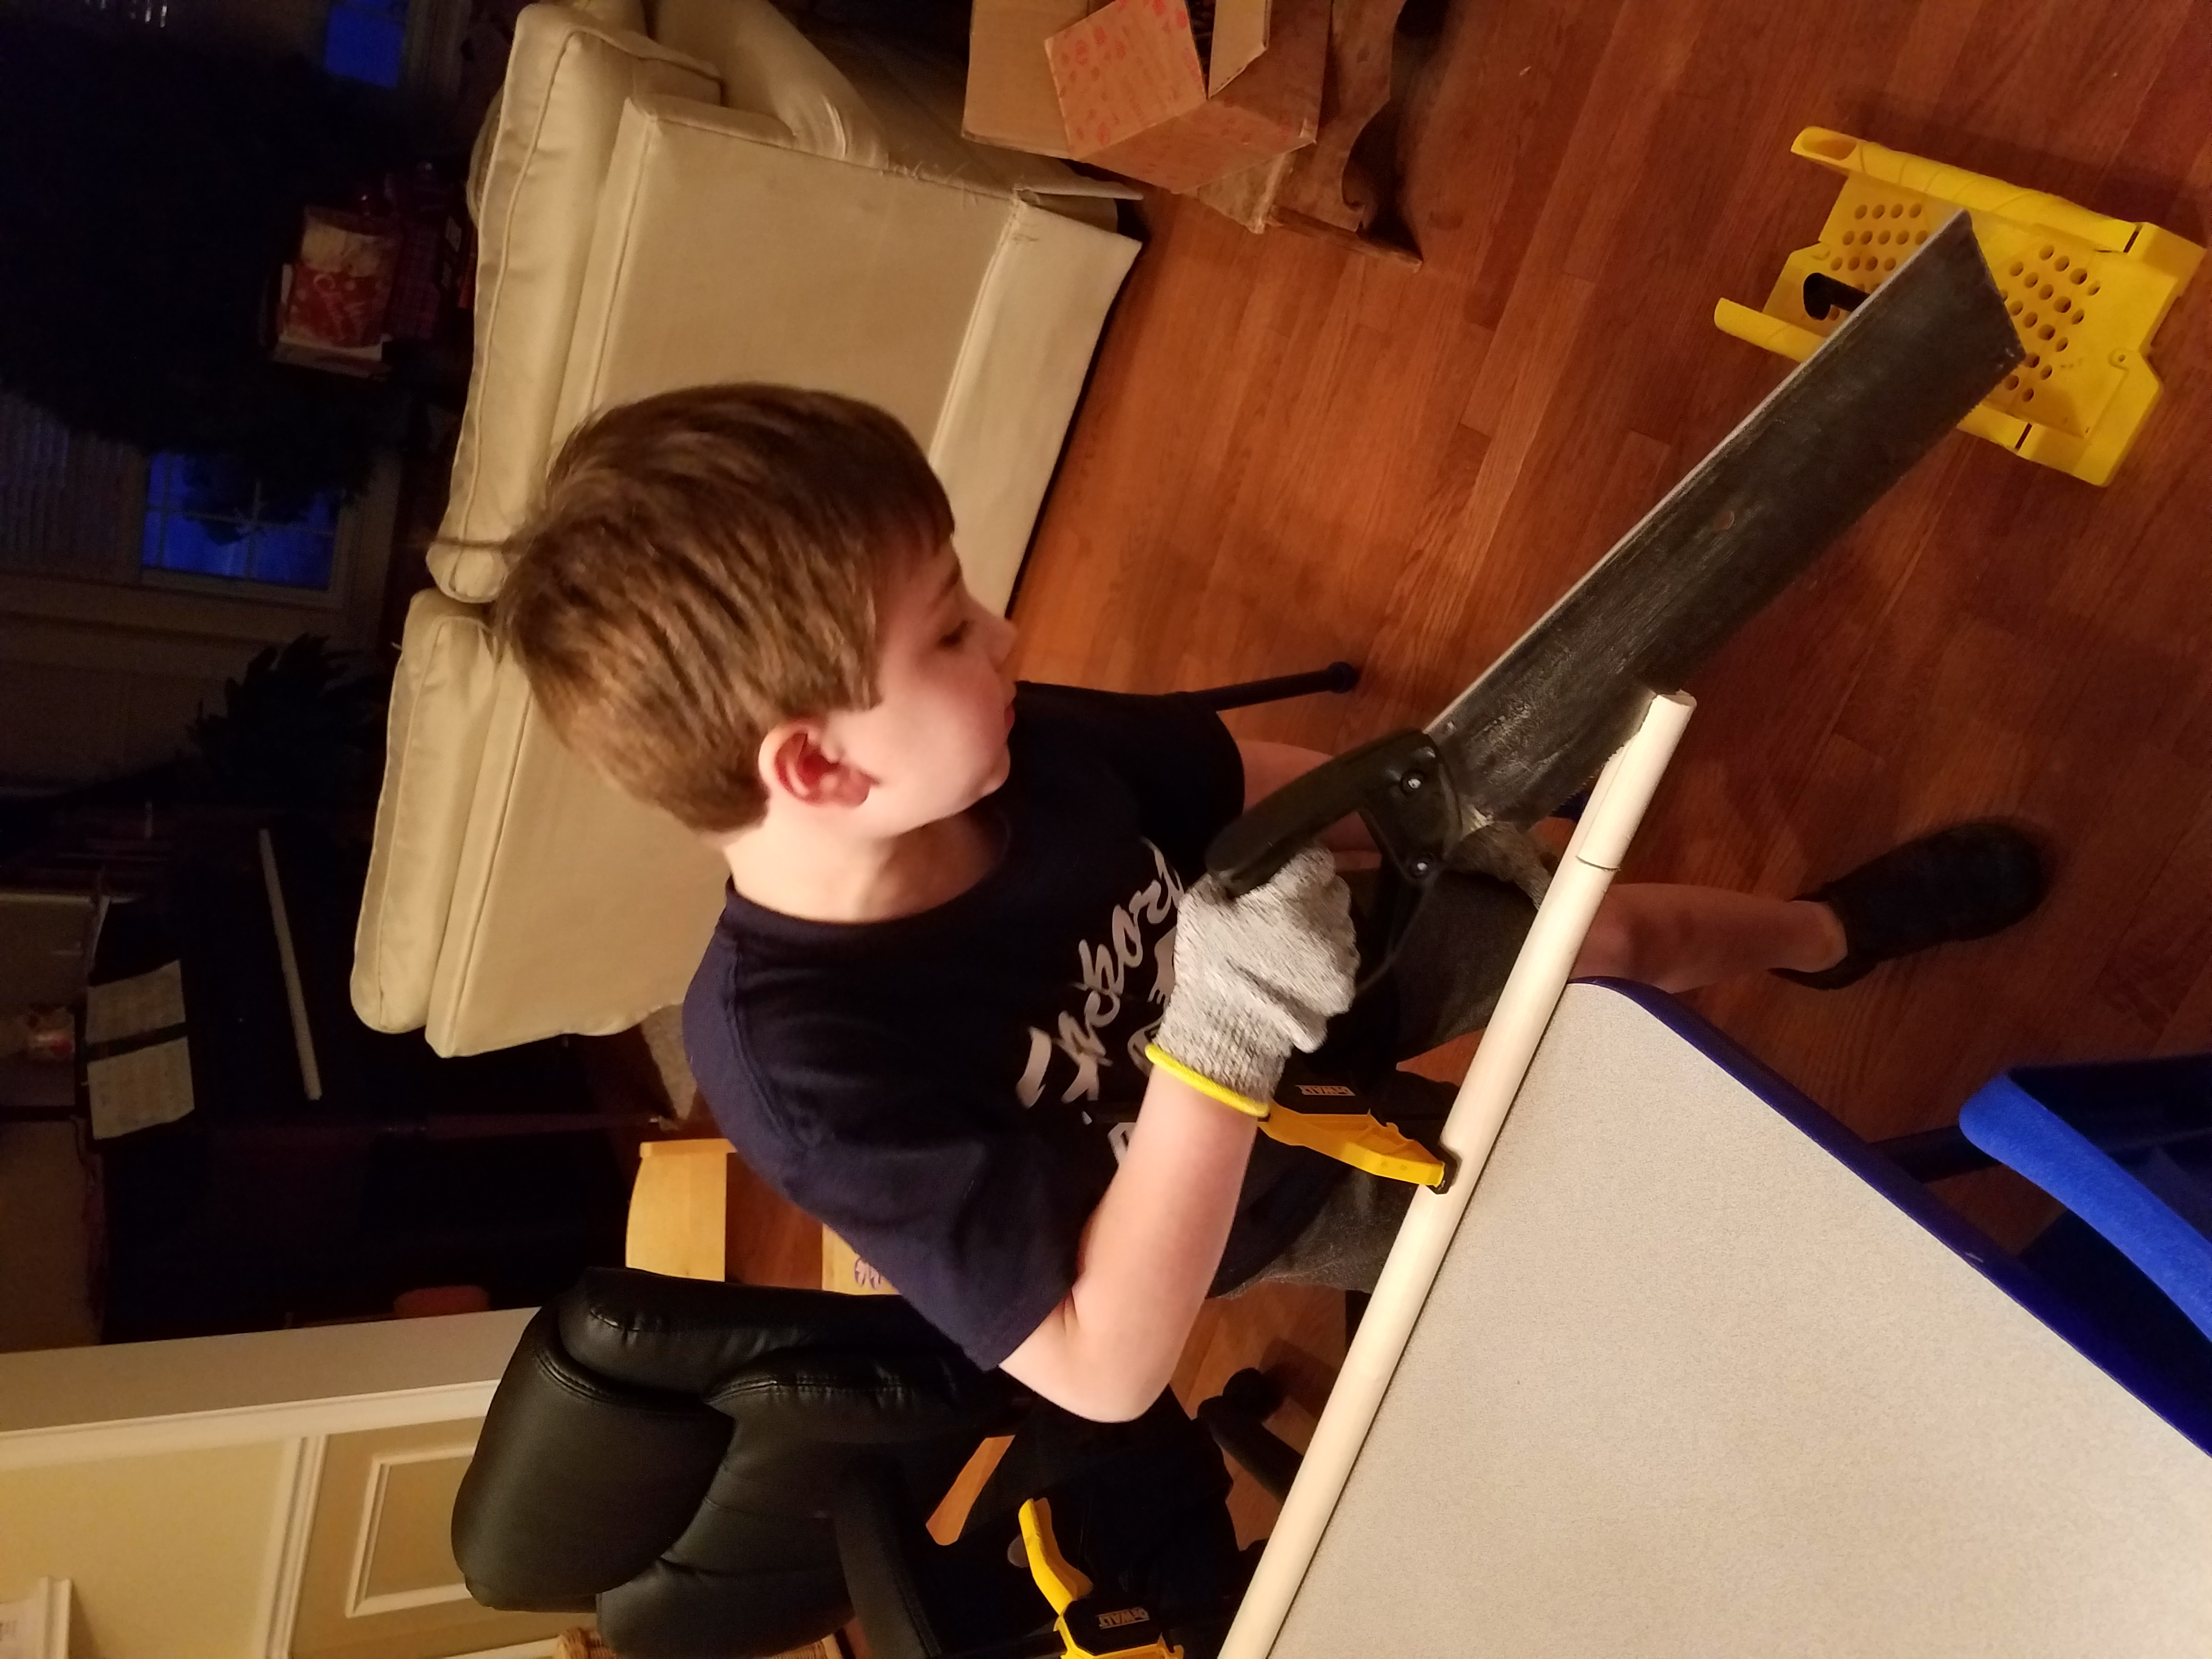
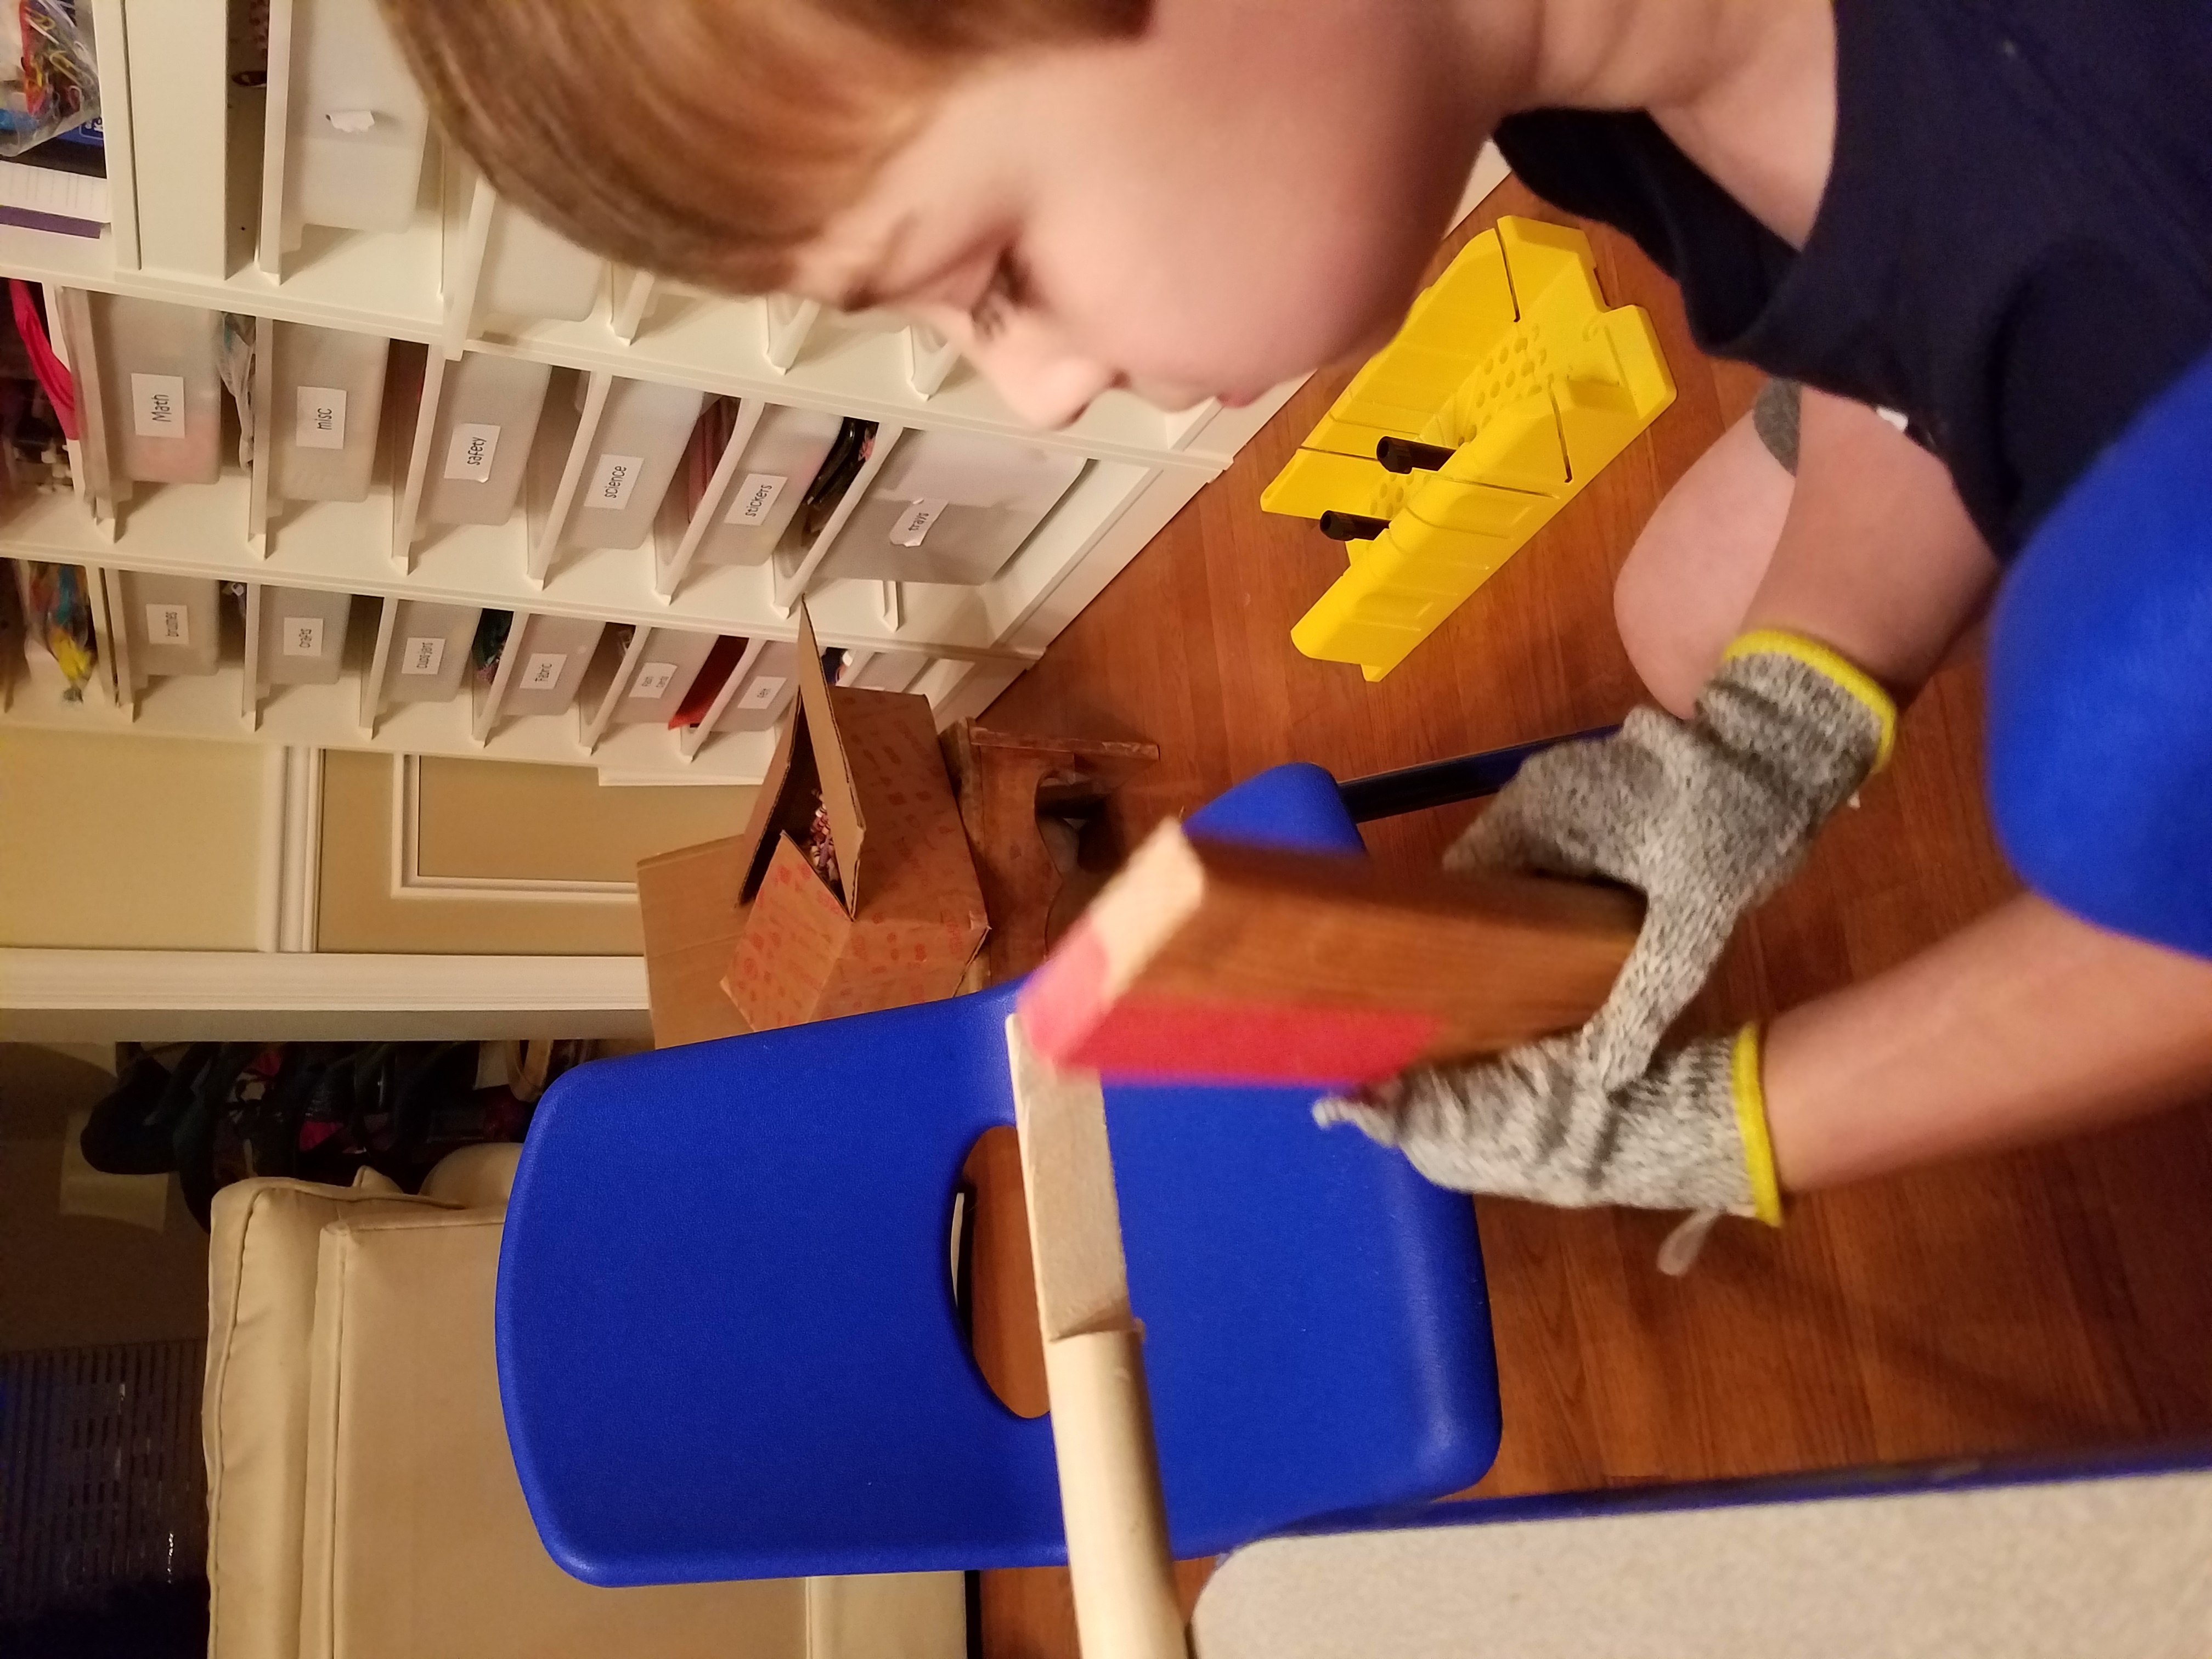
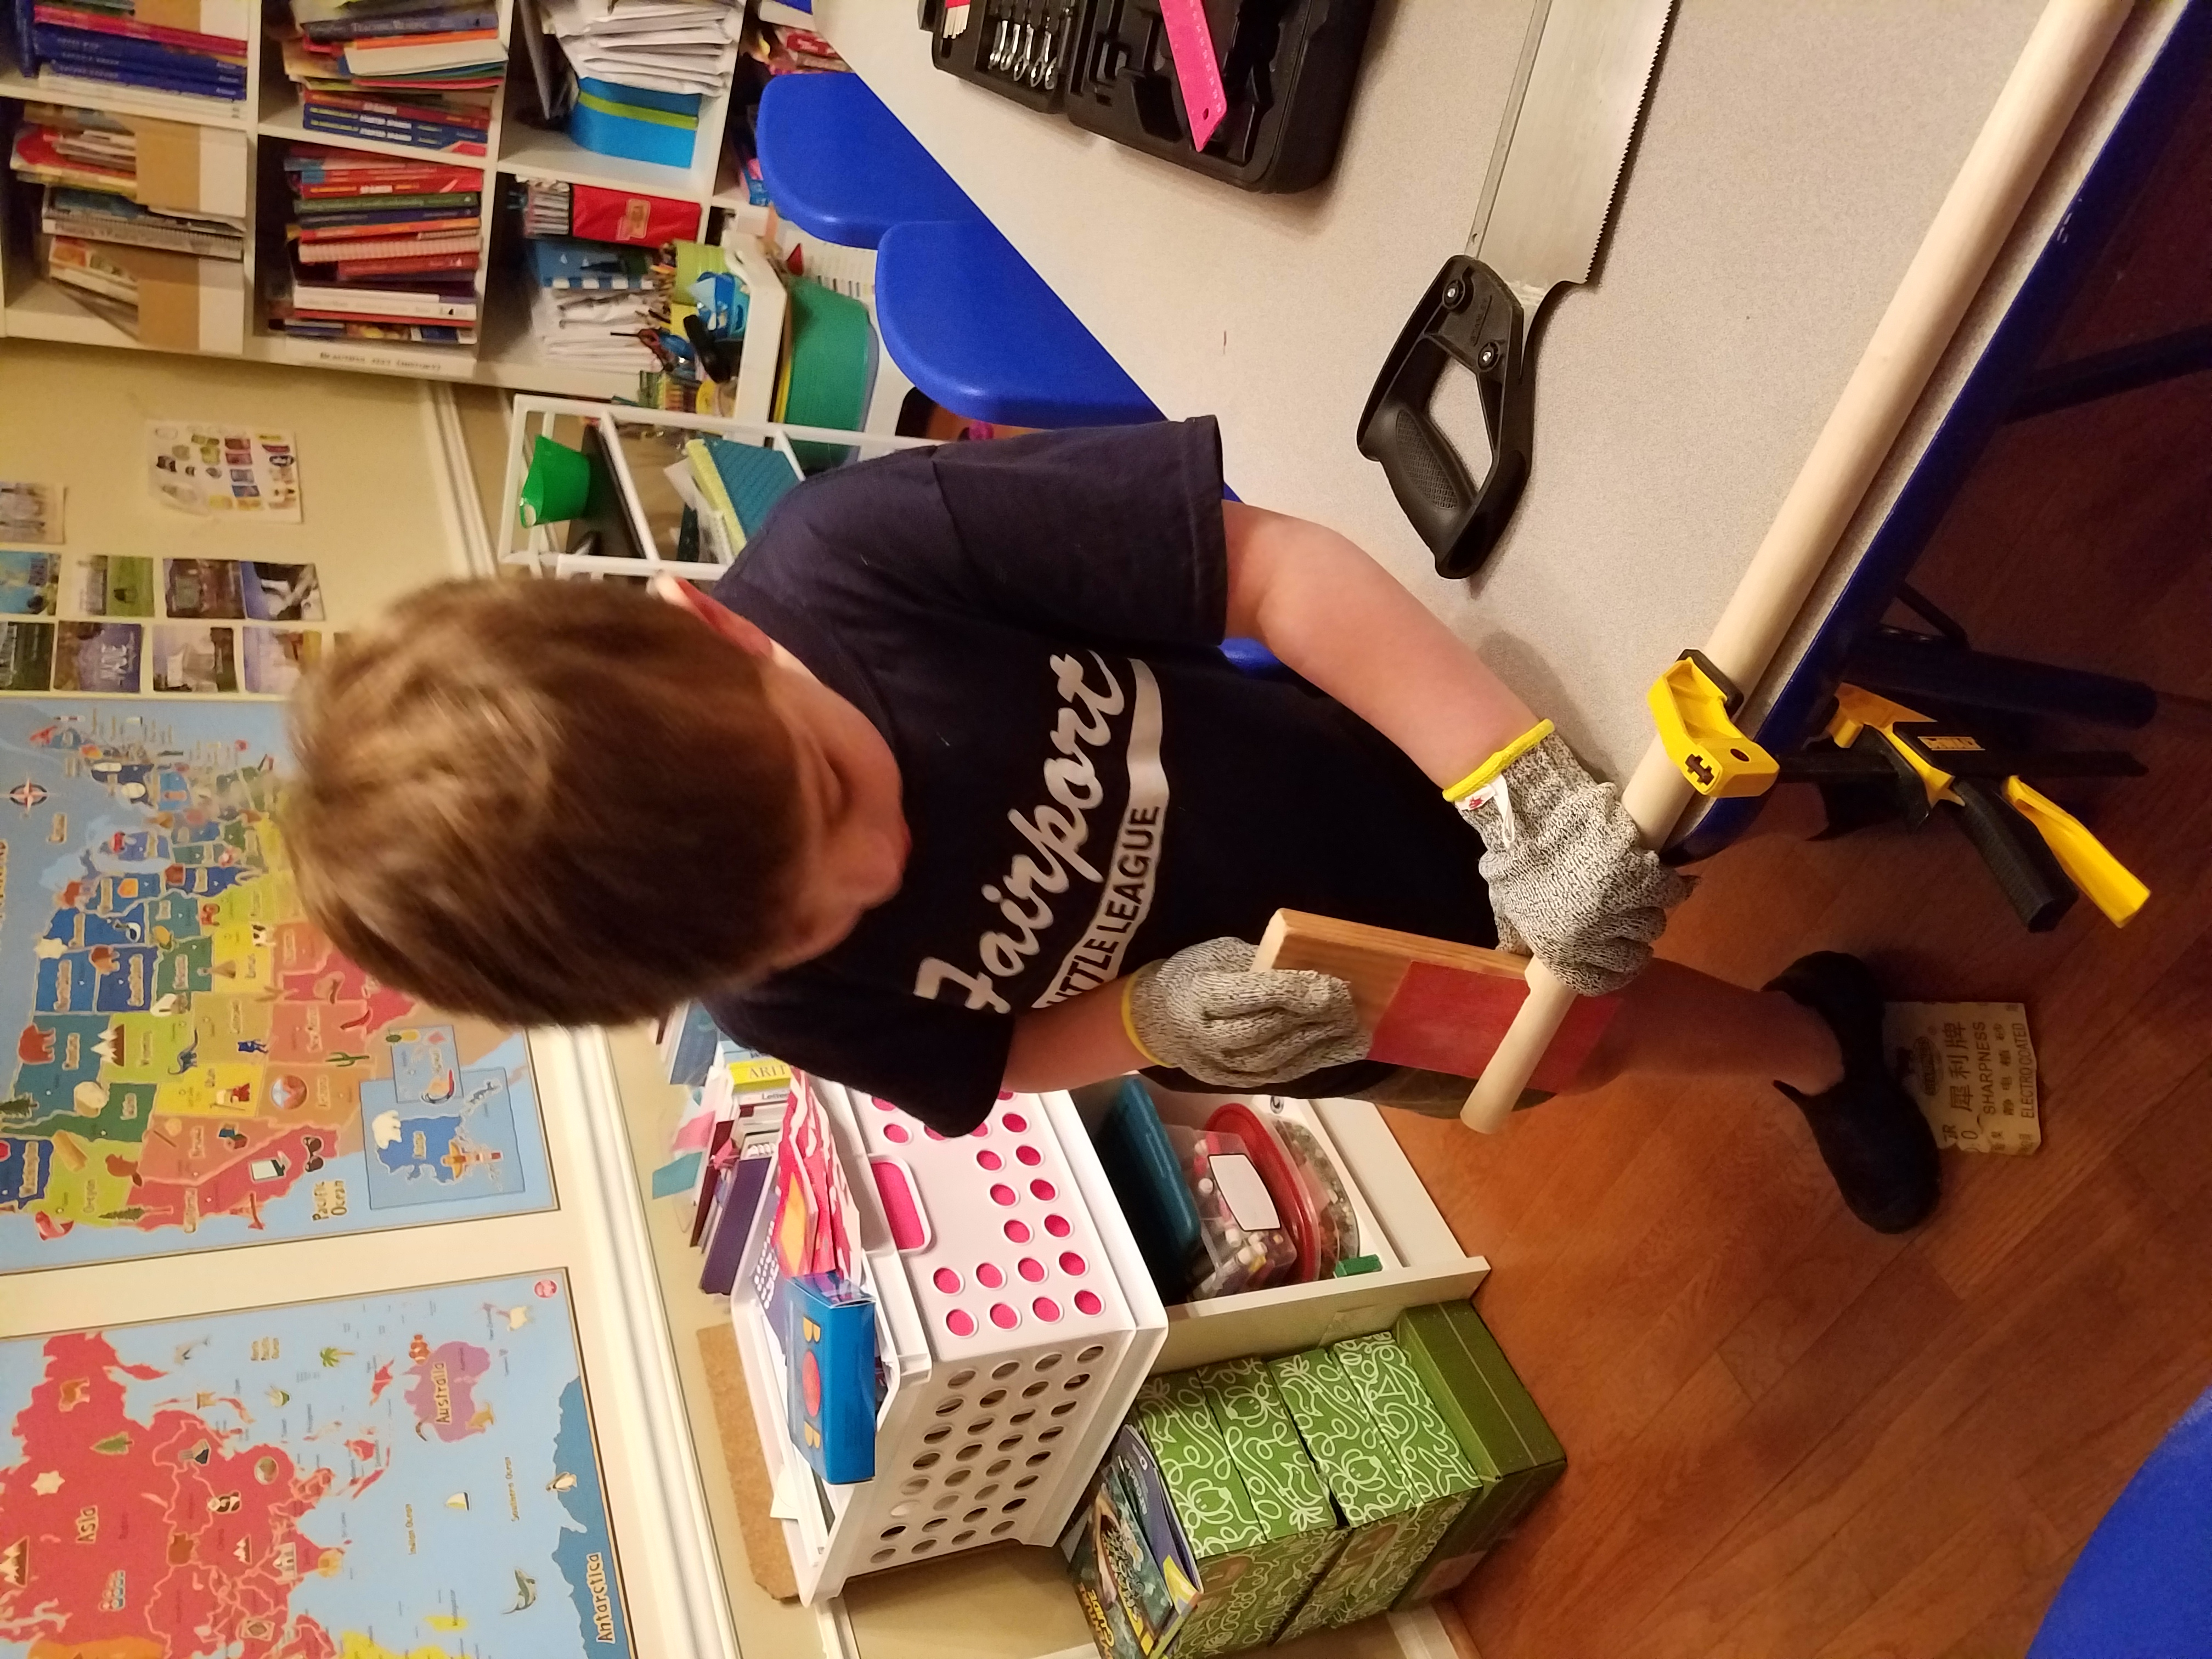
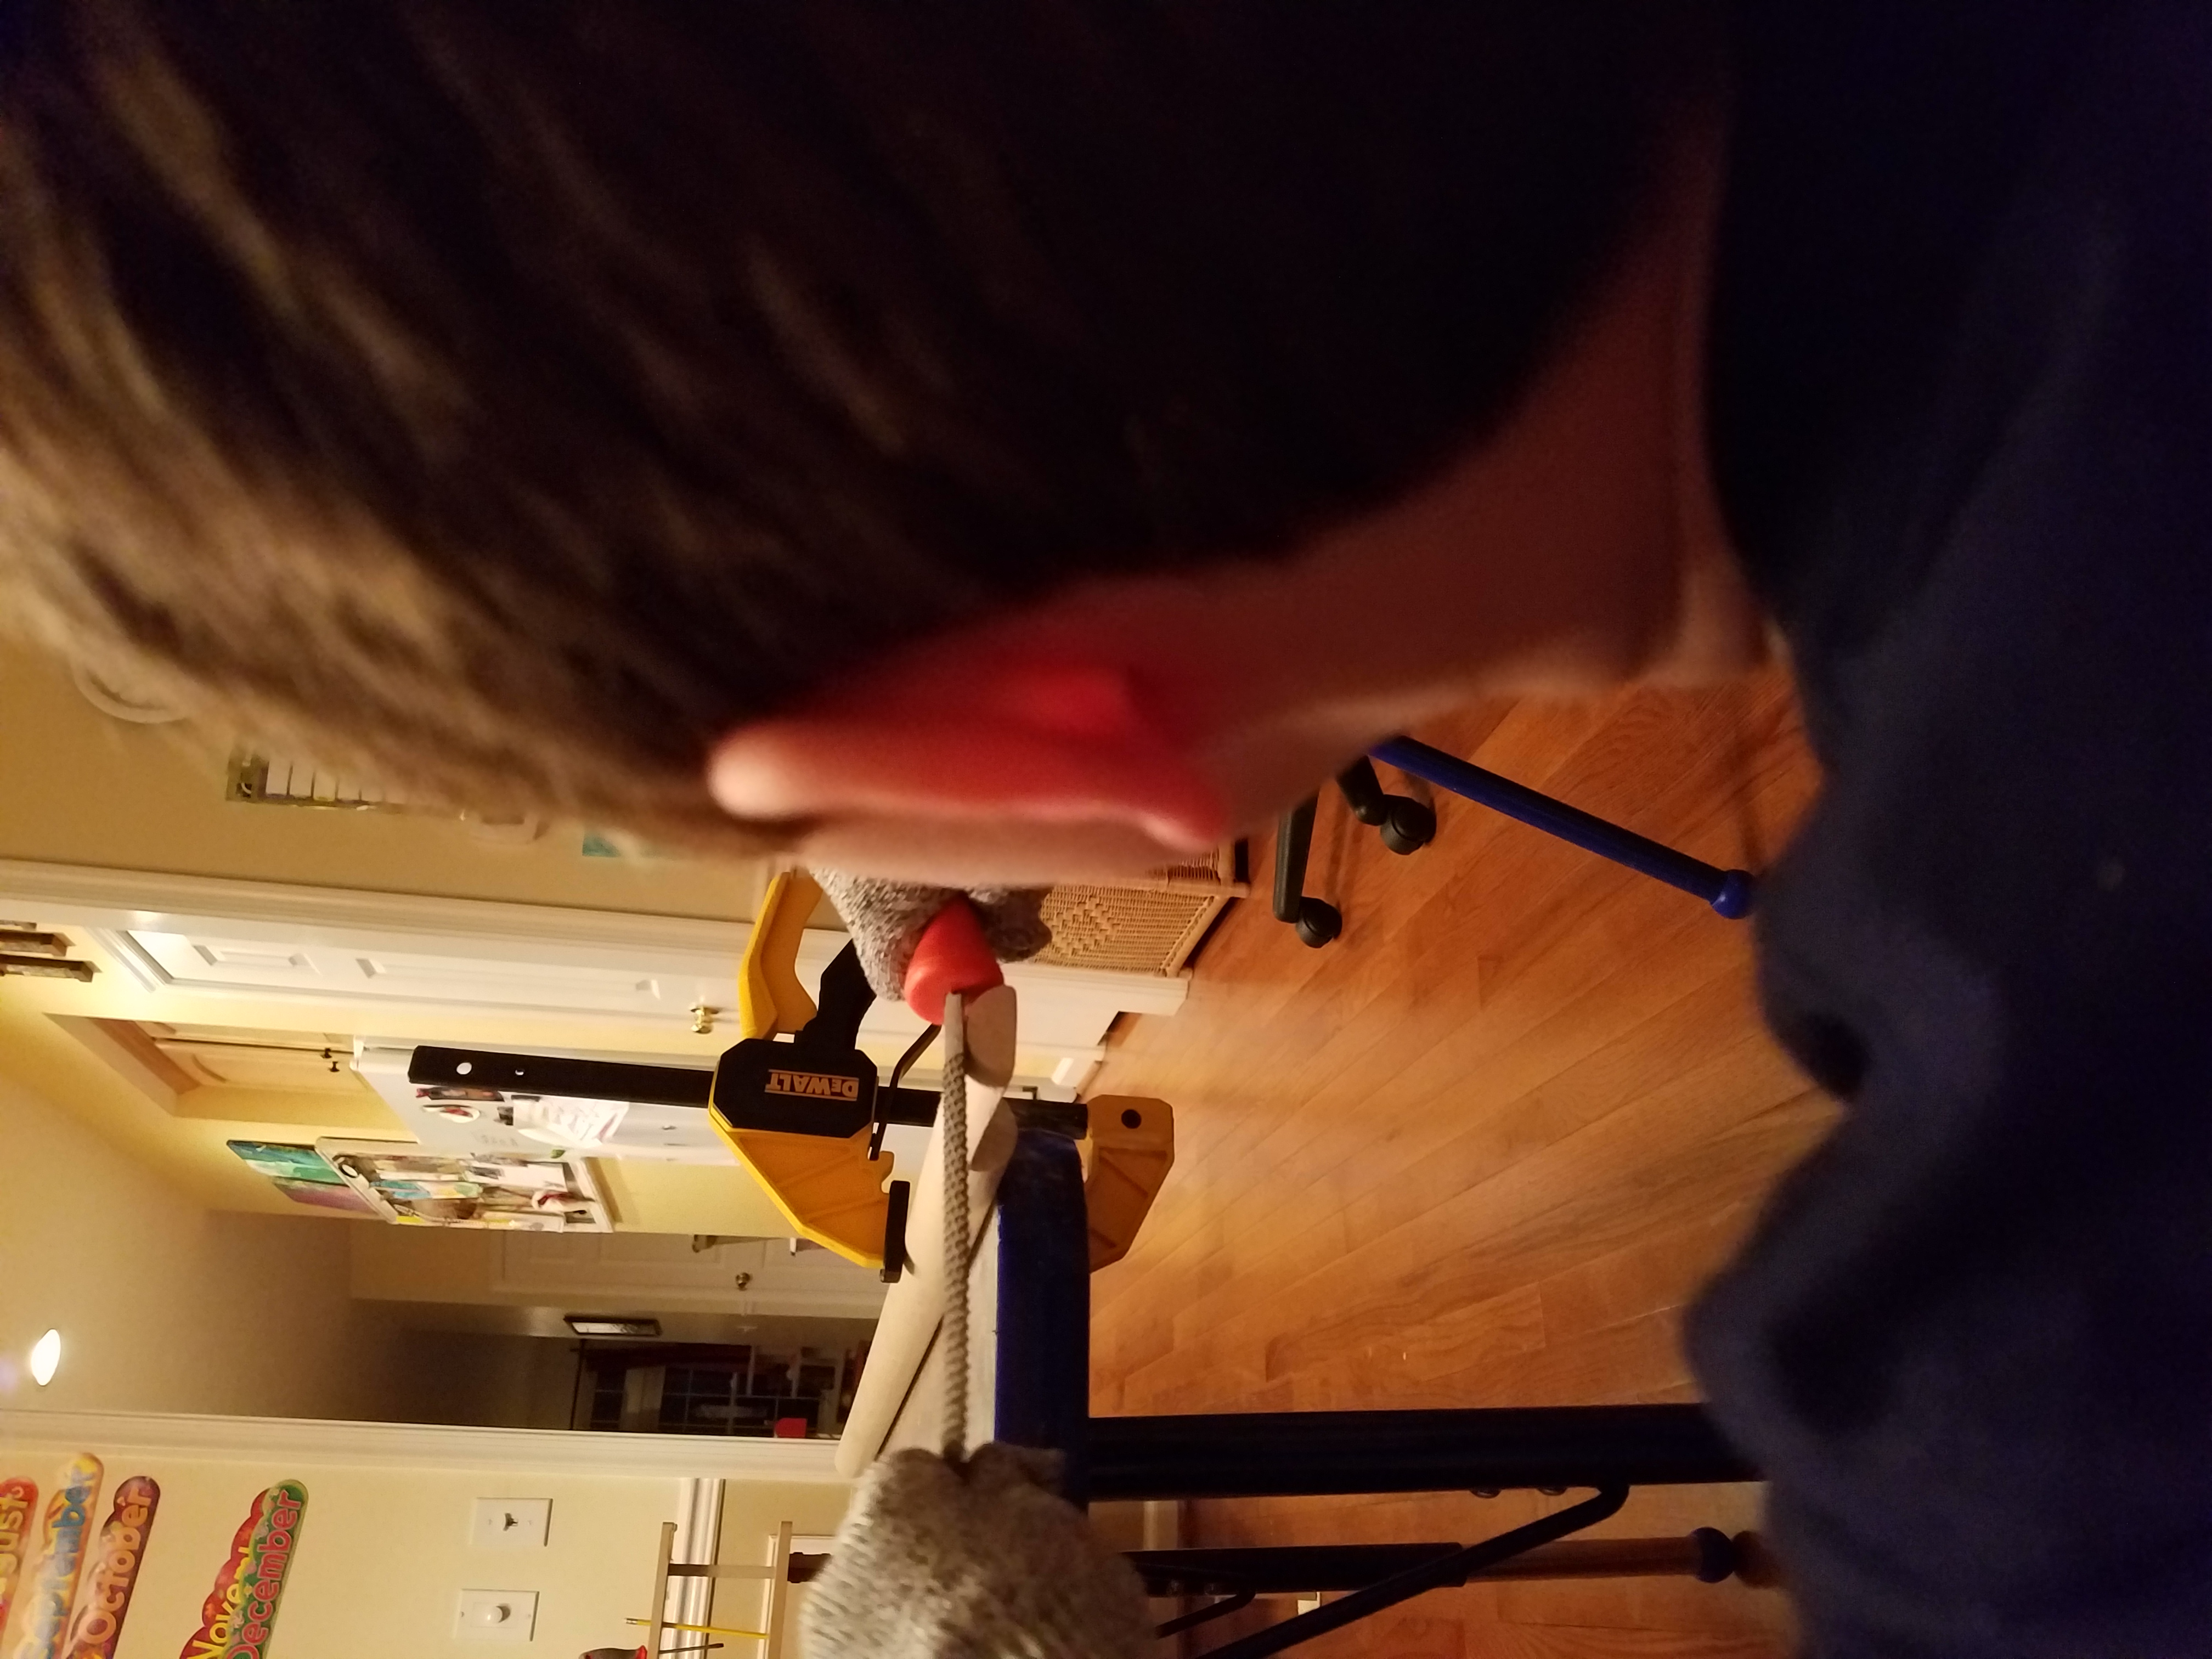
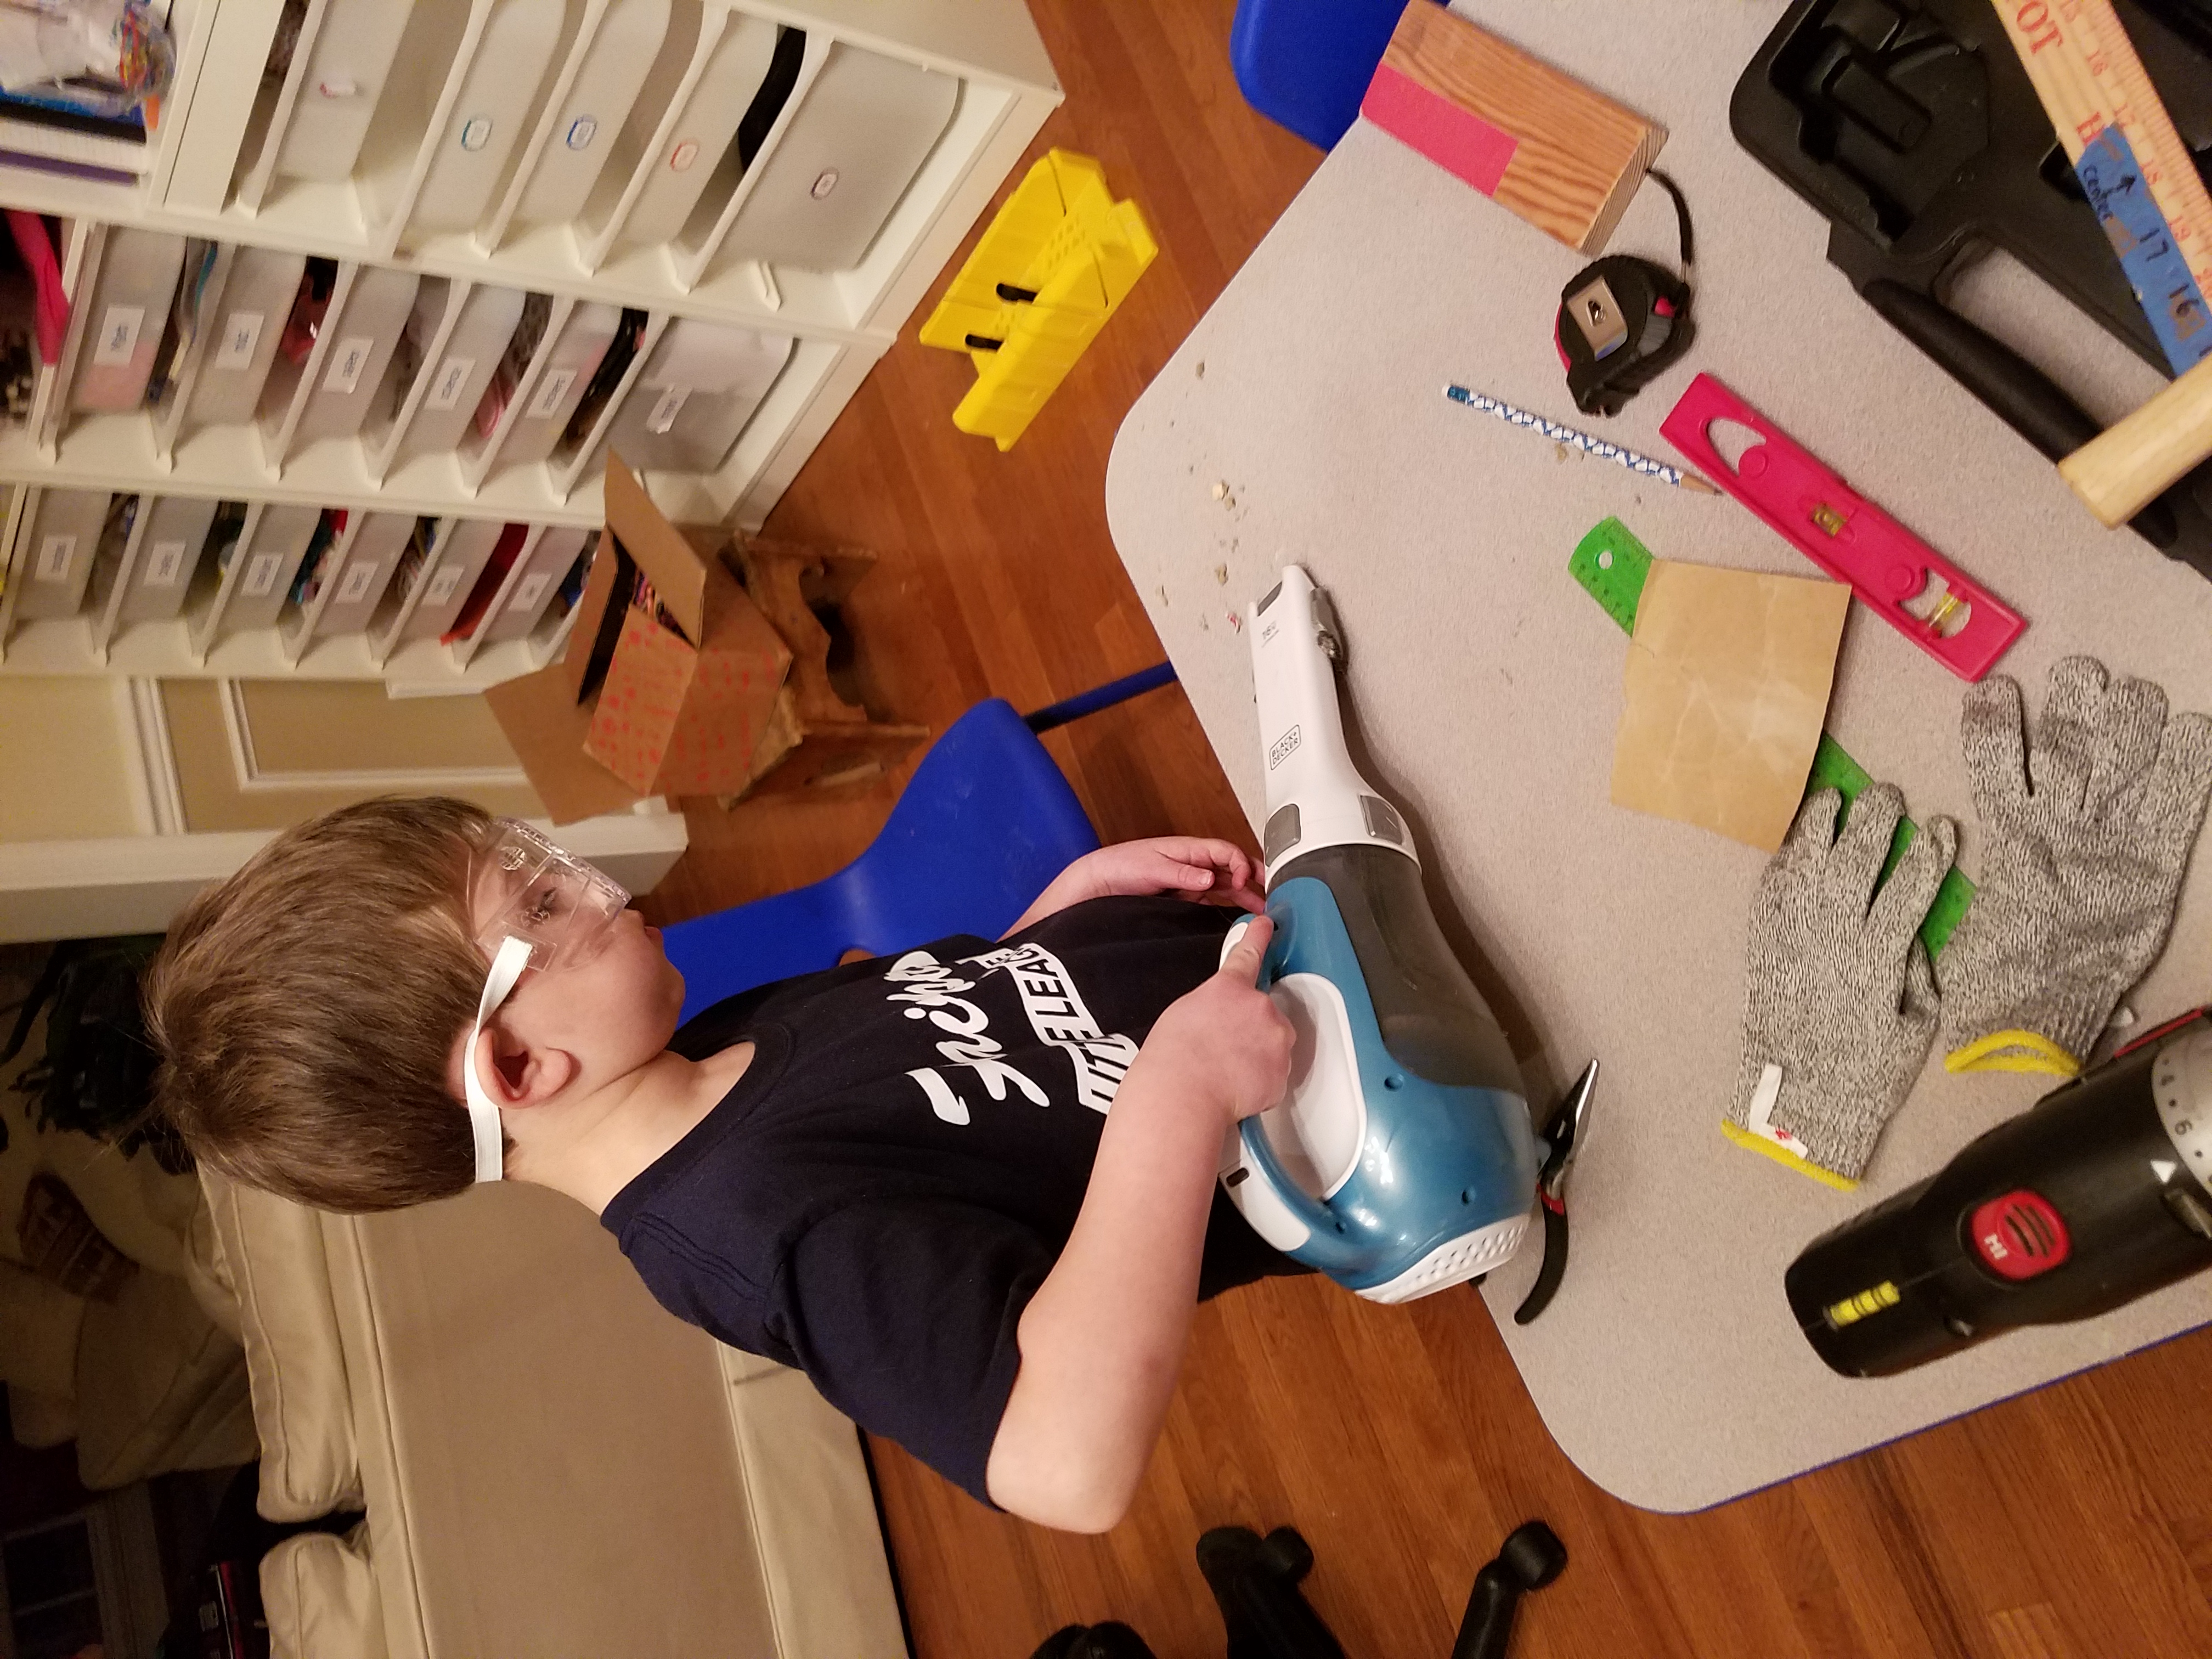
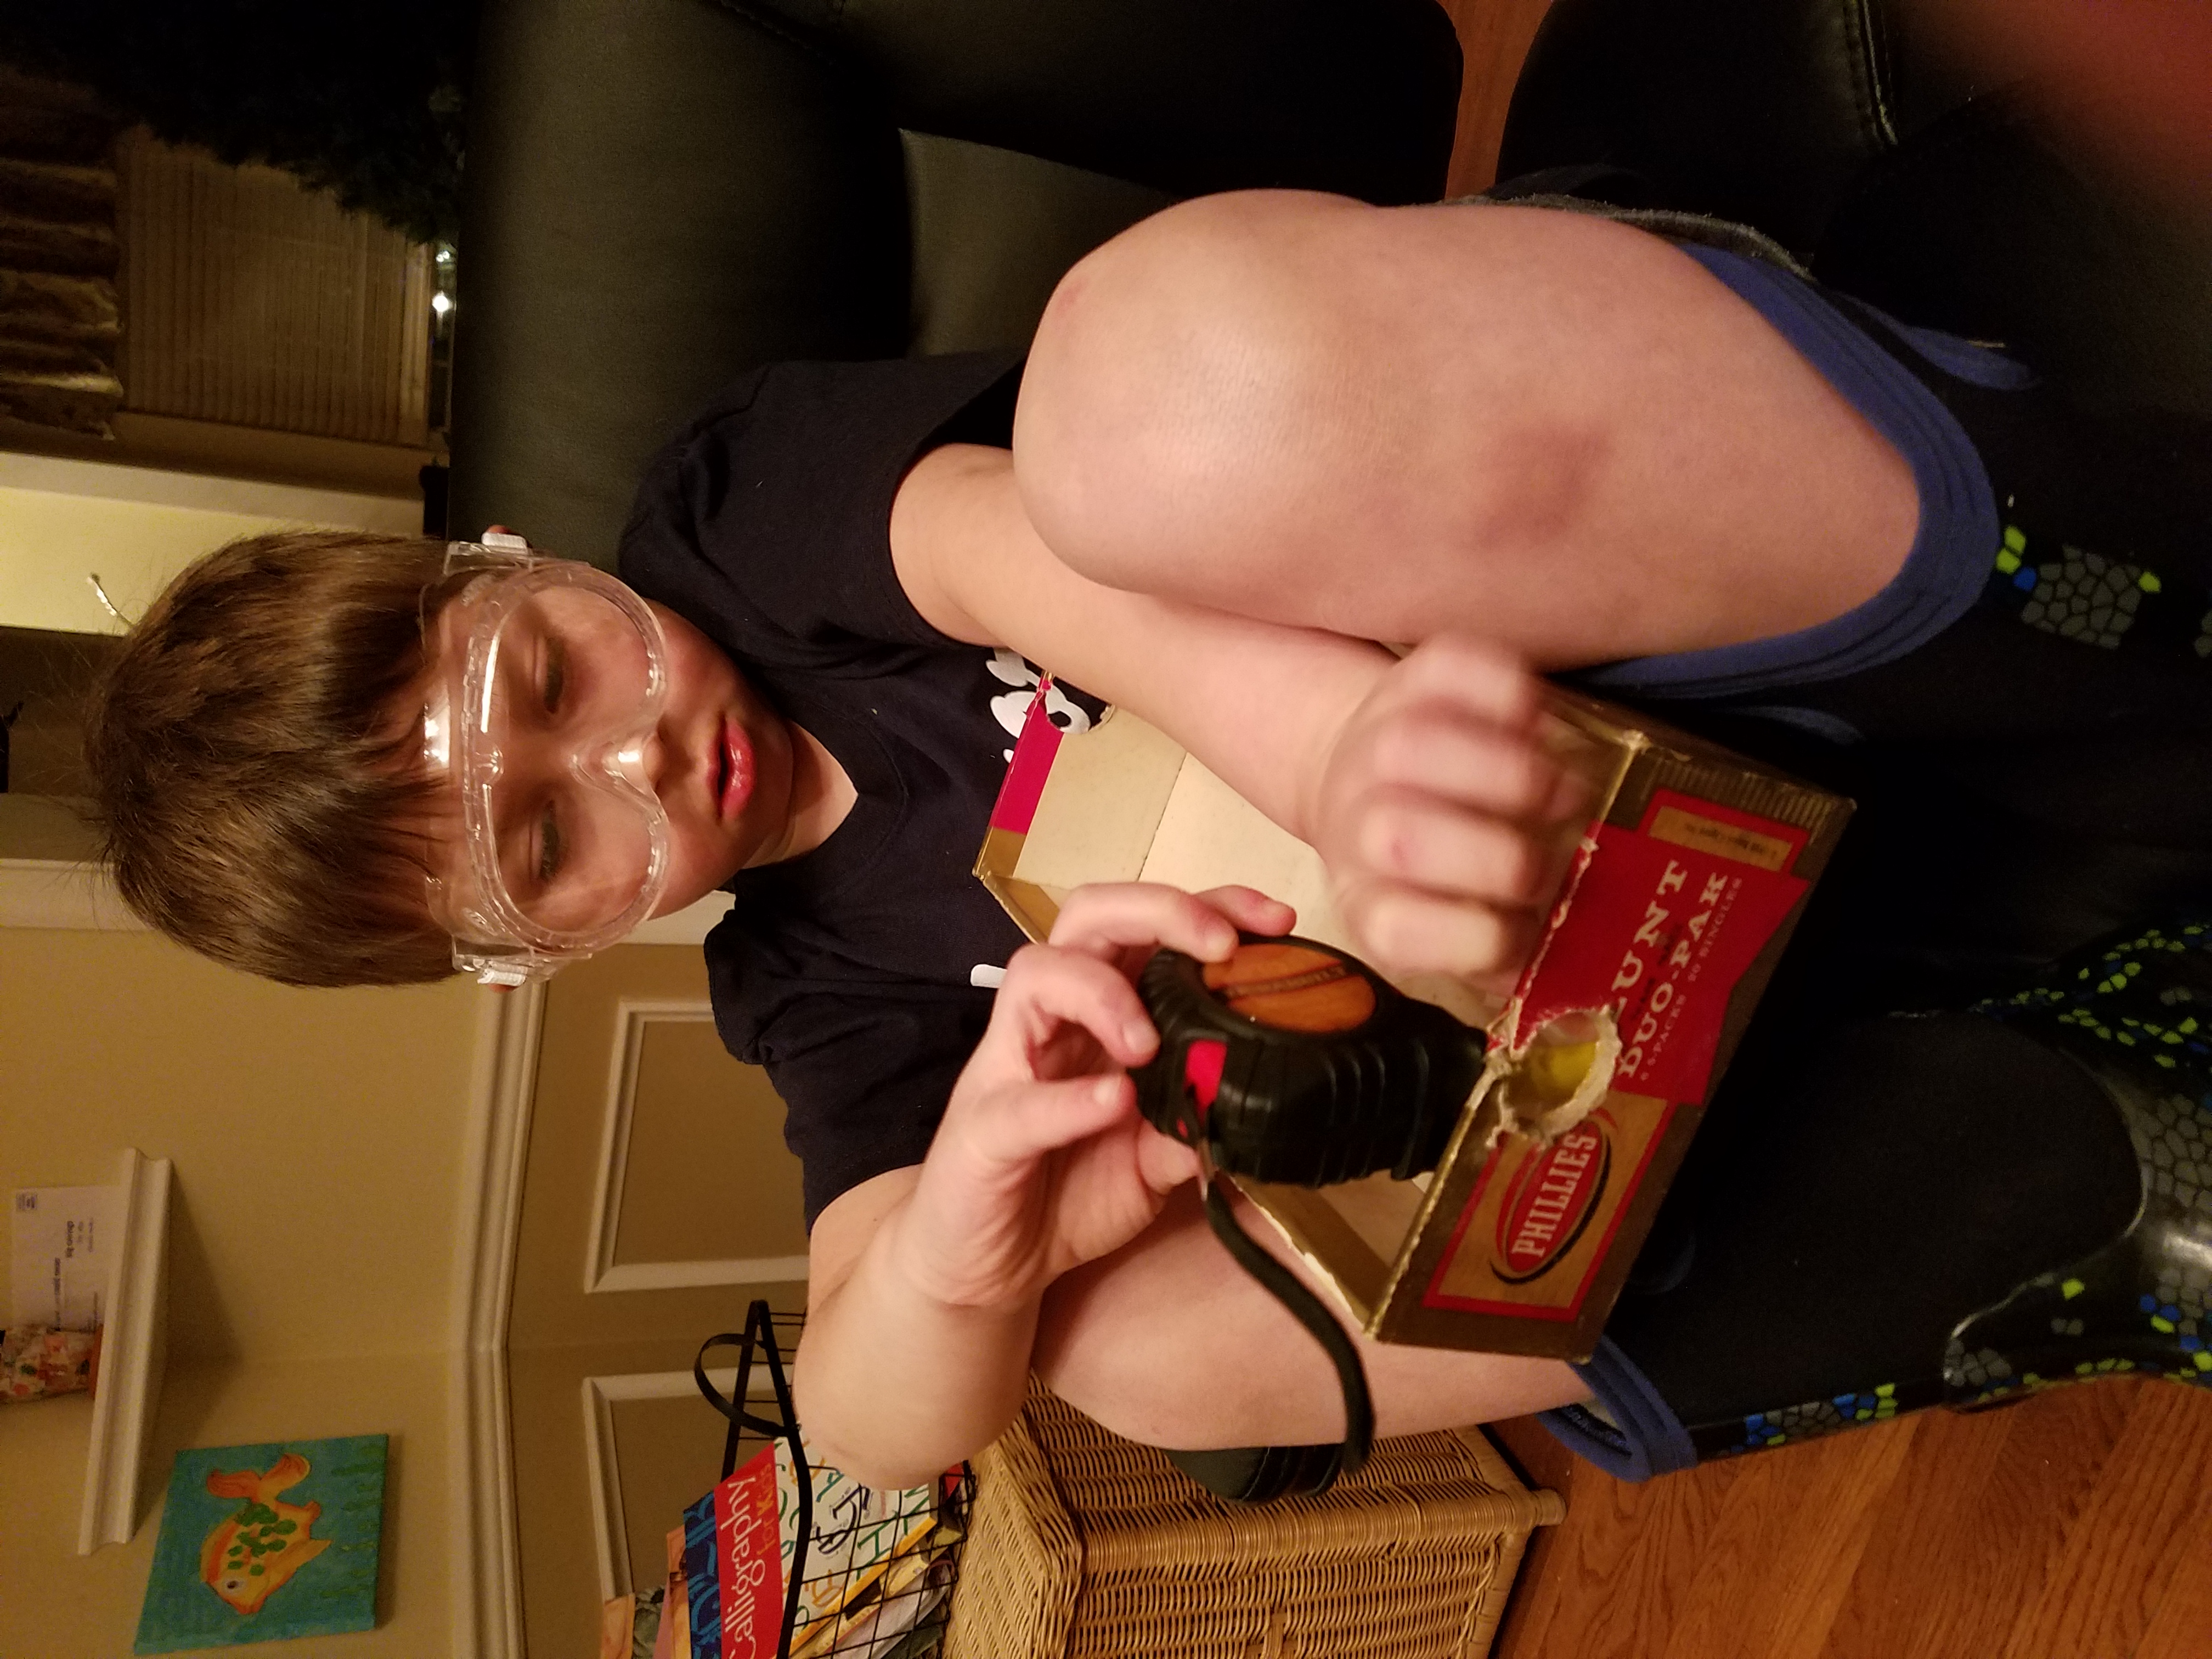
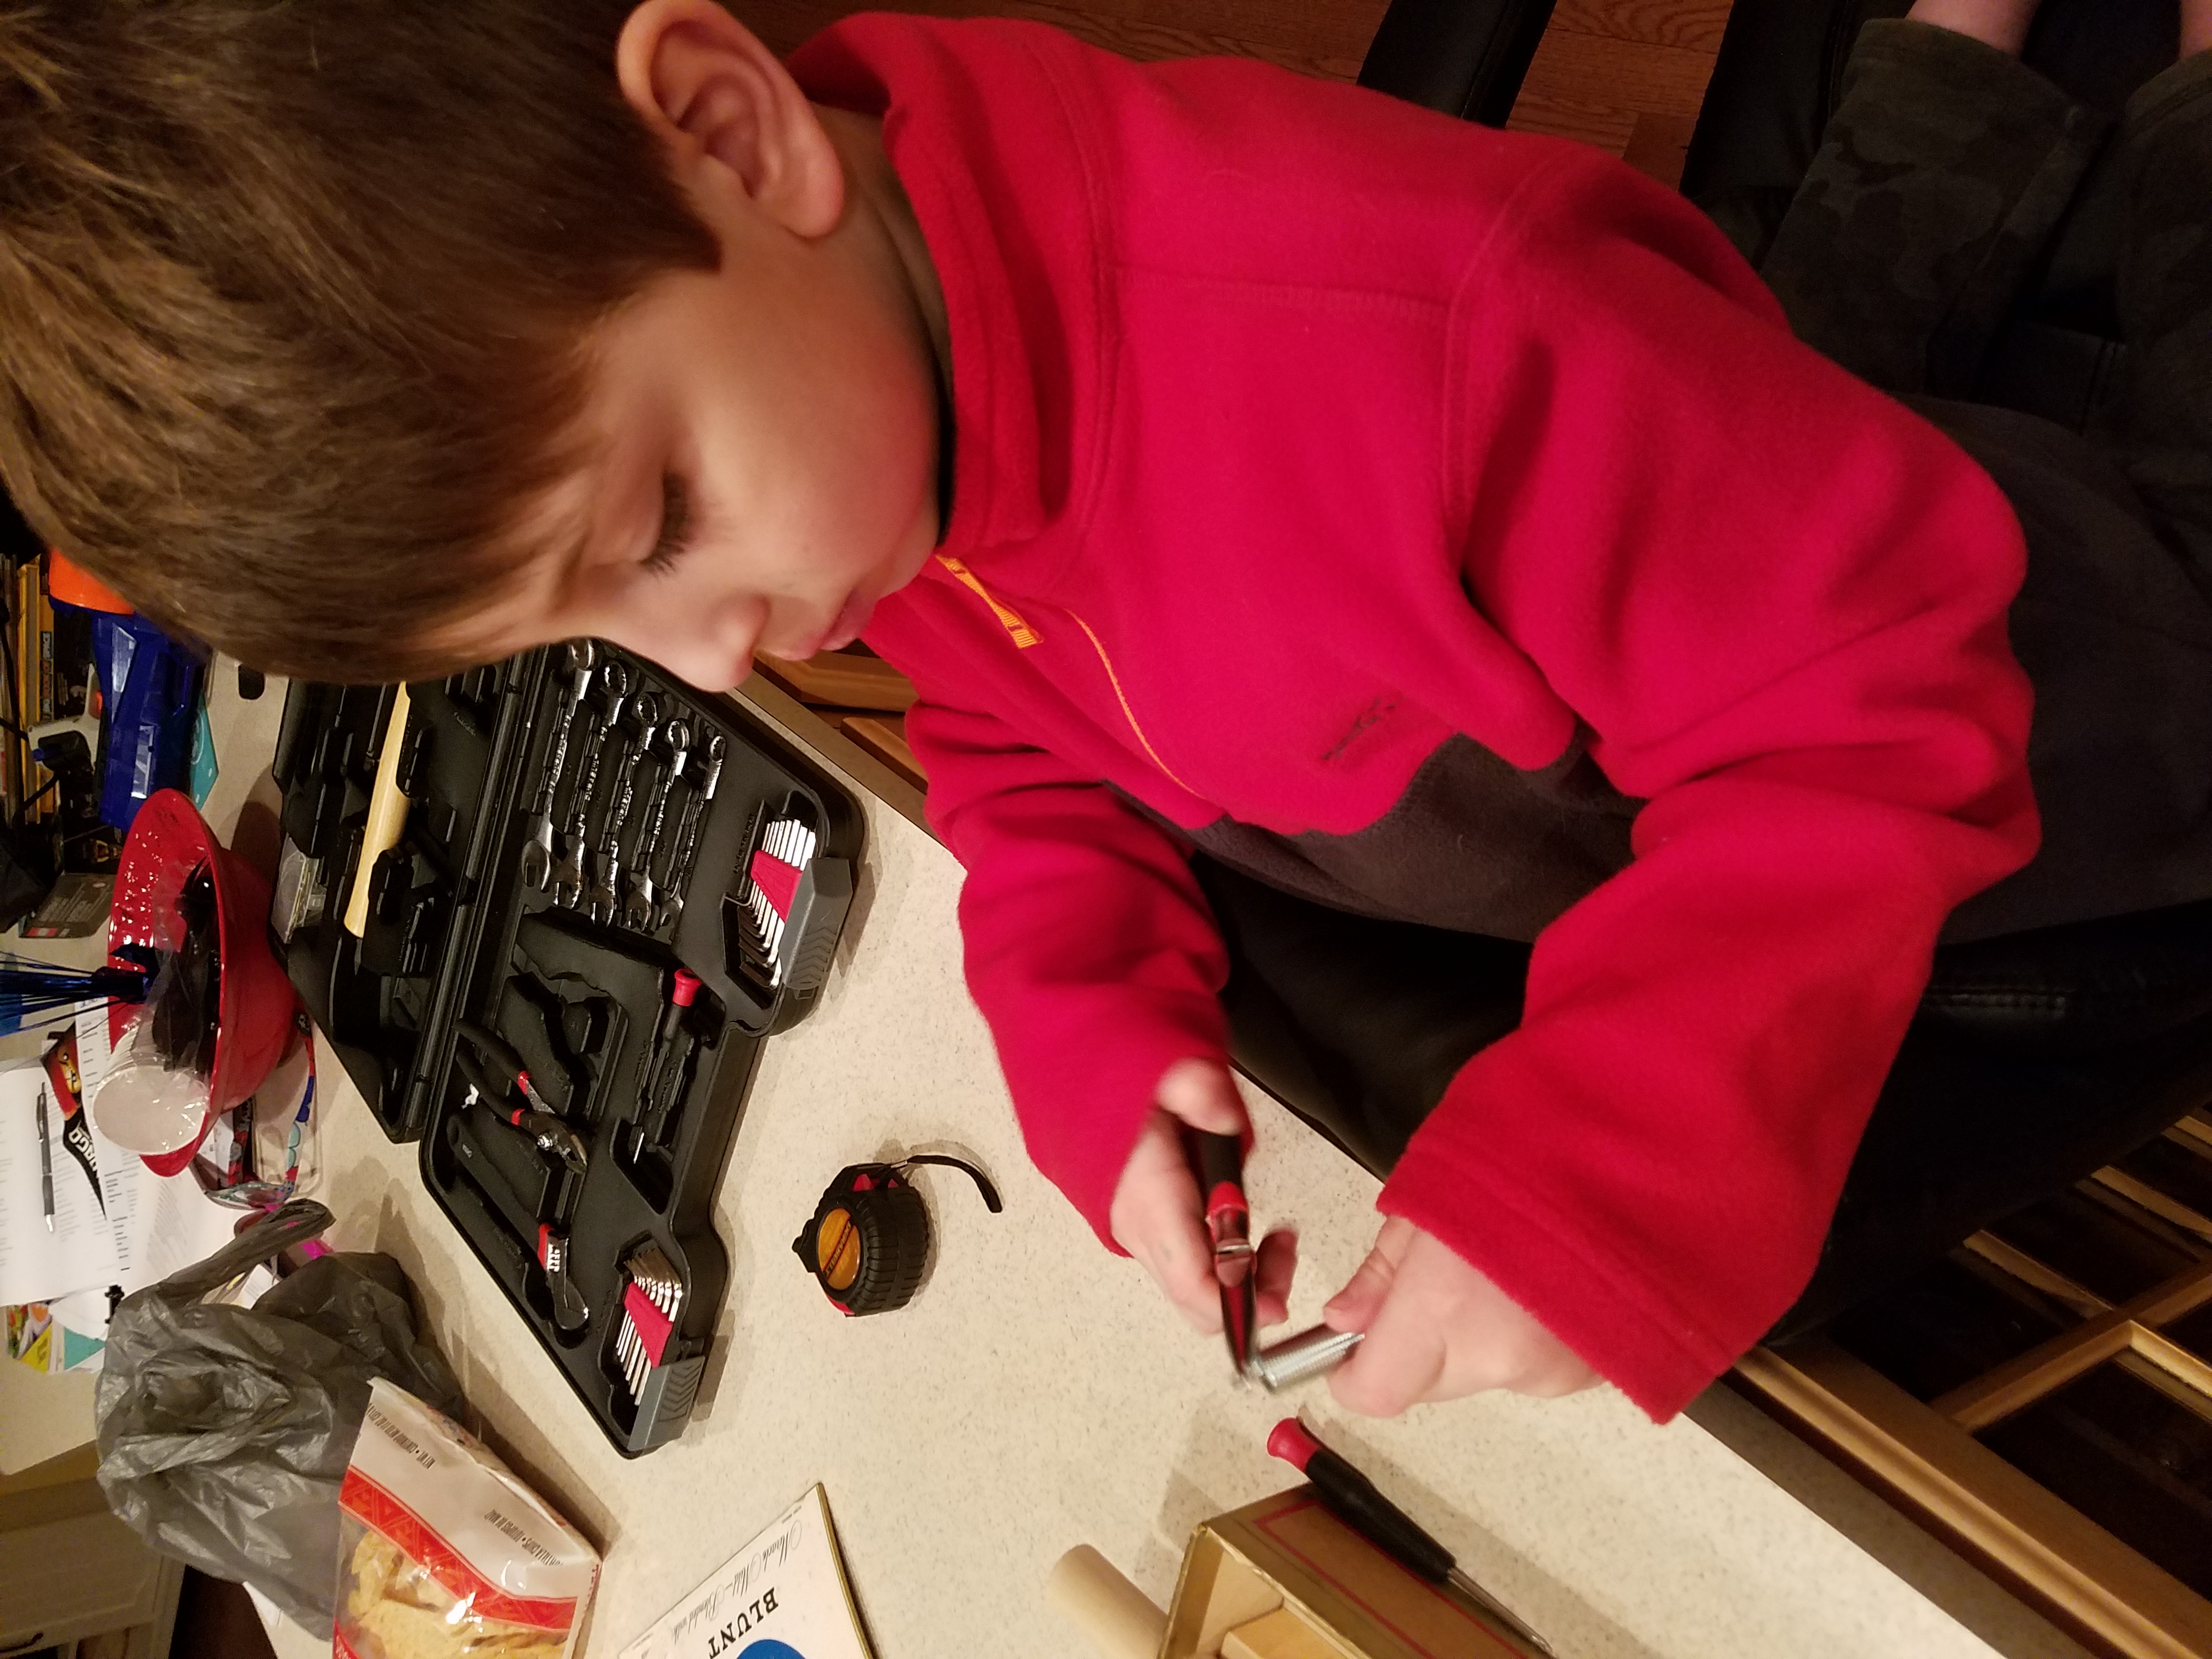
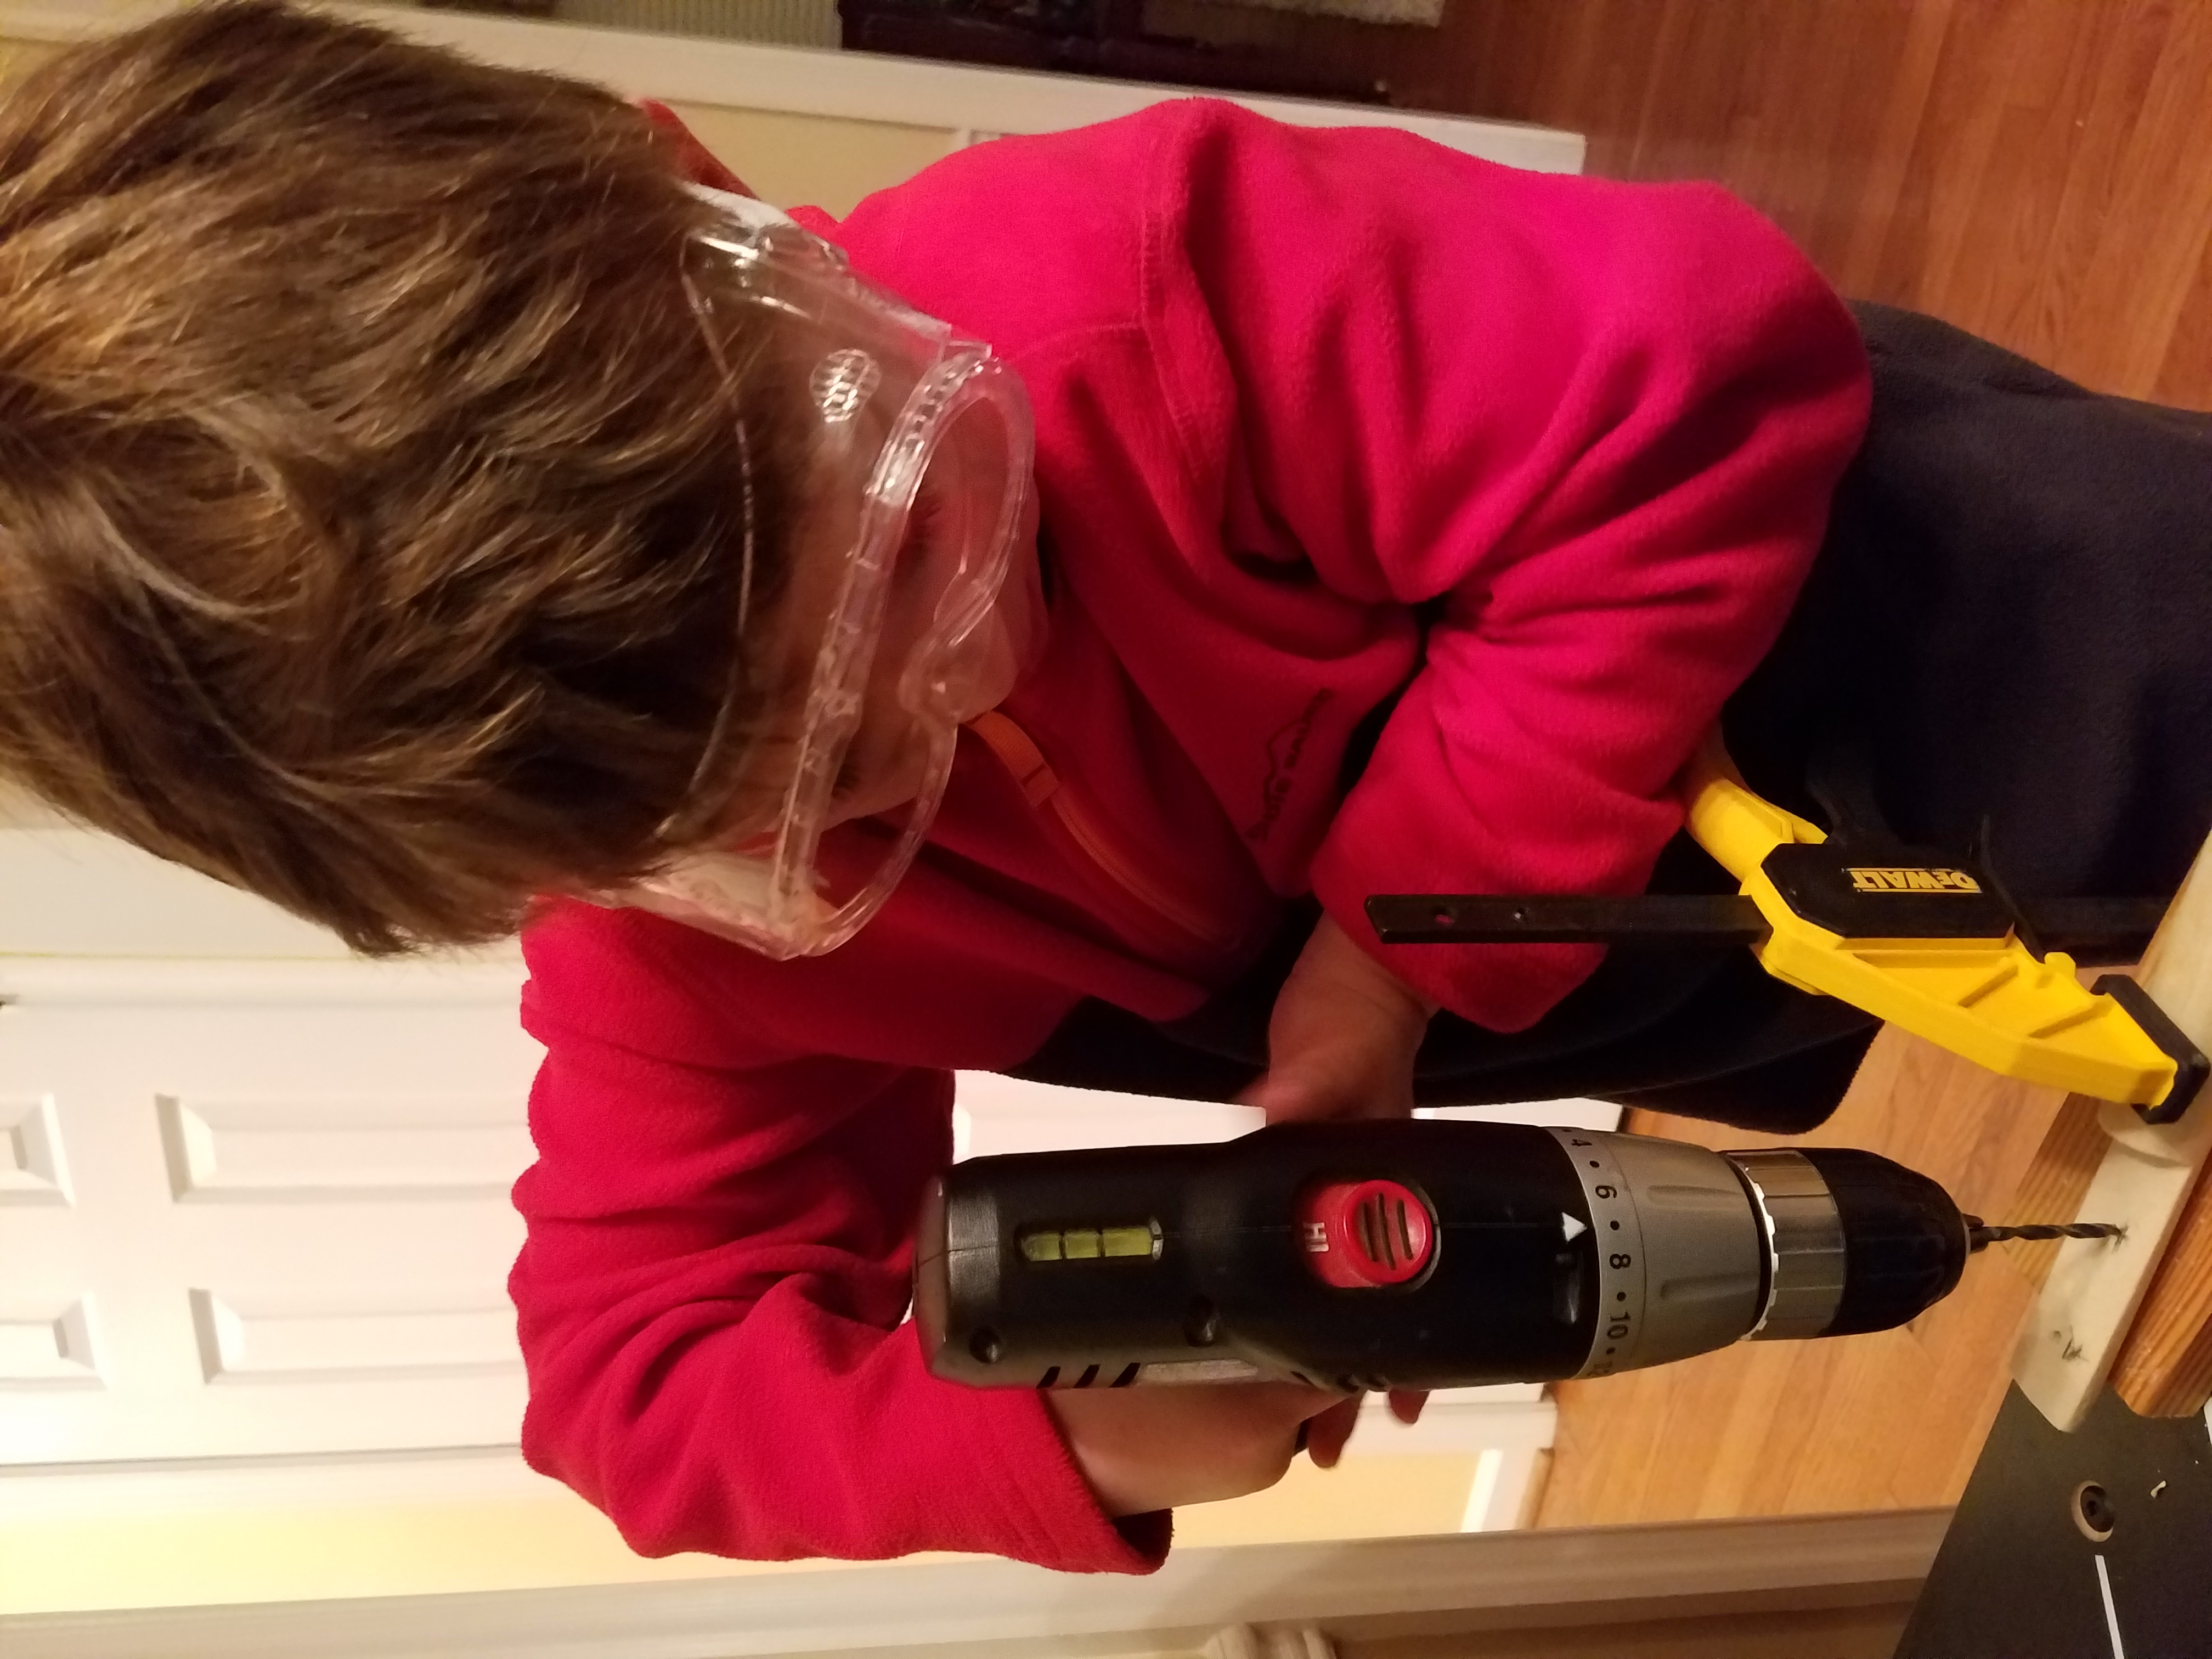
The finished product with its proud creator Practicing making cuts on a wooden dowel No turning back now! Making room for the tuners Sanding the headstock More sanding the headstock Filing the underside of the headstock Cleanup is very important Measure twice, cut once! Installing the eye hooks for the reverb springs Getting the springs ready Drilling the tuner holes Installing the reverb springs Installing the sound holes (AKA drain covers) Looks great! Used a bolt for the bridge The neck split as he drilled the tuner holes…electrical tape to the rescue! A quick performance with my daughter to test it out!